Blog
Ultimate Basslines: how to program and produce the best low-end lines
29 Nov '2021
From writing awesome riffs to adding weight and power, we’ll tell you all you need to know

In an industry where a massive bass sound is standard and mixes are played through speaker cones the size of Godzilla's arm, a robust bass mix can mean the difference between a professional and a rookie. In this article we aim to streamline the thought process and help you succeed in the battleground for low-frequency flair. We’ll help your mix lock into a groove and sit just right. Many aspects go into creating a killer bass tone – each step of the way is integral.
Shape your sound
When recording any instrument, it is vital to get the initial sound source right before you go deep into a session. Whether this is tweaking a synth patch, shaping a bass hit in a sampler, or dialling in an electric bass tone, capturing a top-drawer signal will help the rest of the process flow with ease.
Bass frequencies move more air than higher frequencies. Keeping your signal mono ensures that you have power and punch from the get-go. Your bass needs to sit in a central space and allow the other instruments room for width in the mix. Mono bass limits the amount of low-end space used compared to a wide stereo signal.
Designing a synth patch
Before we deep-dive into bassline composition, we must first find a frequency range for our bass to live. If you are tracking bass in the early stages of the project, you will need to take into consideration where other instruments might sit.
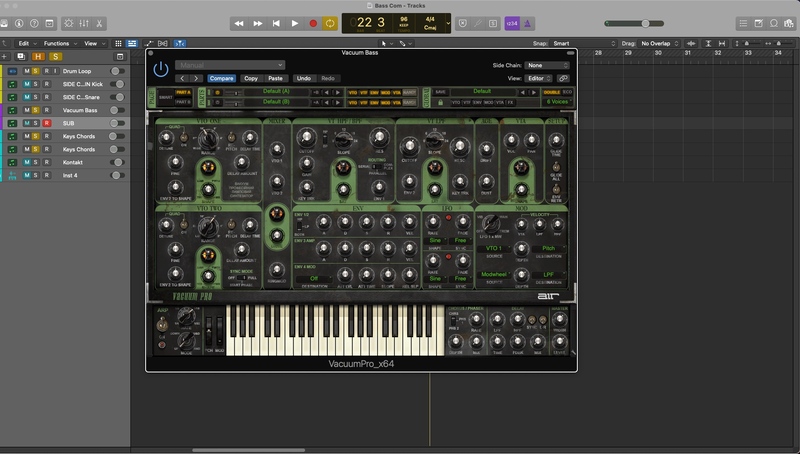
For our bass, we’ve used a vintage analogue synthesizer VST to produce a saw waveshape. Filters help the bass tone sit in our desired frequency range. We set our high-pass filter with a steep slope and maximised the key tracking parameter. This causes the filter to close, subtly emphasising the harmonics no matter the note you play. On the low-pass filter we rolled off the cut off to a sweet spot that eliminated any unnecessary high end.
Keeping the attack time short to maintain punch, change the shape of the envelopes to shape your sound. The other parameters are more flexible, so search for a sound that suits the project and your taste. Try increasing the sustain on the amp envelope to achieve a stronger timbre. Now we are getting a thick monophonic bass pluck!
Shaping a sample
Before we tweak the sampler, it is important to find a relevant and high-quality audio file to sample. To stay consistent with the previous example, we sampled a bass pluck from a Moog.
Load the audio file into the sampler so it can be re-pitched. Ensure that it is just as high-quality inside the sampler as it was as an audio file. Move the playhead to the start of the transient hit and add a subtle fade out – this prevents any clicking.
We filtered the sound down so it sits in our desired frequency range, added some drive to help the vintage-sounding sample to have more power, and added modulation; this time using an LFO to add rhythmic pulses to the sustained bass notes.
Dialing in a bass tone
If you are using an electric bass, begin by adjusting the bass tone solely using its volume and tone knobs – try plucking in different hand positions and velocities. When dialling in a tone on a real amp or software sim, spend time shaping treble frequencies as well as low-end - these add presence. A popular option is to record the bass guitar as a DI. This can be a stand-alone bass tone or blended with a separate bass signal. Each element of the recording chain will impact the sound, so make sure you spend some time tweaking!
Modulating your sound
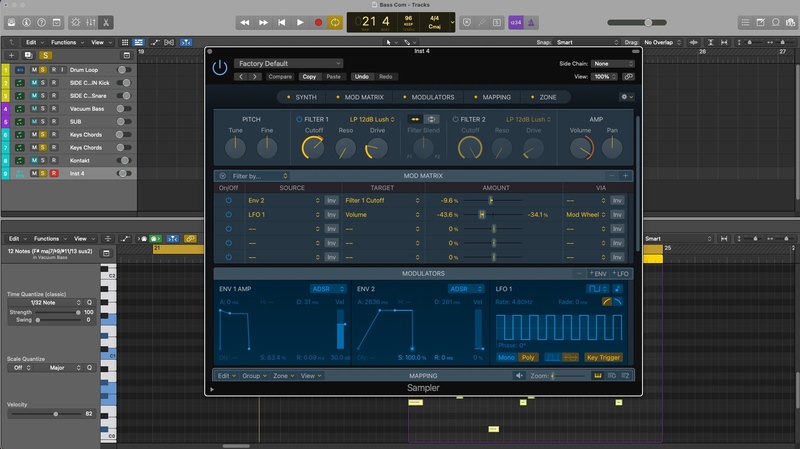
Routing filters in synths and samplers will cause parameters to change over time. Envelopes affect the intensity of a bass note. Use them to increase the higher frequencies as a bass note tails off or create fluid pitch changes affecting held notes over time. It is important to hear the initial weight of a bass note, so keep the initial transient hit clear of modulation. LFOs offer rhythmic options that can create a pulse, wobble or sweep effect. Craft intricate bass movements by stacking both envelope and LFO modulation on individual parameters.
Composing better basslines
While your ears can lead you to interesting note choices, painstakingly searching for sacred notes can be unproductive. Your bassline won’t sound good unless you choose notes that match the chords and align with the drums. It’s time to fast track your knowledge and learn techniques to give your bassline the feels.
Constructing your bassline
Begin by outlining the harmony with root notes. This is often the lowest note of the chord and establishes a ‘home’ sound. Our chord progression is Fm, Gbmaj, Abmaj, Dbmaj, so the root notes are F, Gb, Ab, and Db. Align these with the kick drum and you have a strong starting point of a bassline that anchors the harmony and locks in rhythmically.
Leave gaps between notes, as silence can be a bassline's most powerful asset. By keeping melodies simple and aligning notes with rhythmic hits, your part will feel more powerful. From here, we can find ‘tent pole’ notes that will naturally sound great along with our chord progression. To unveil these notes, we will be exploring diatonic triads.
A triad is a three-note chord that includes the third and fifth interval of its relative root note. Let's focus on the first chord in the progression – the F minor. The triad notes of this chord are F, Ab and C. By looping the first bar of the chord progression, we can listen to the drums and hear where we can place the notes to enhance the groove. This part of the process will involve trial and error.
Our chord progression is syncopated. For the bass to work with both the chords and drum rhythm, we adjust the root note to play on every chord change. By moving these notes to the chord changes instead of the kicks, we create space to play other notes where the roots were. Using only three notes per chord, we created an interesting and energetic bassline.
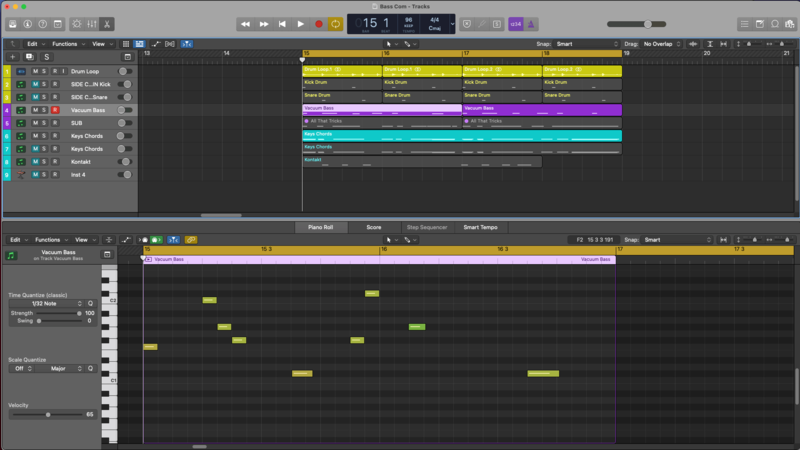
Finally, by experimenting with the length and sustain of your bass notes, emphasis is put on a certain point in the bar. A sustained note gives the perception of low-end weight and volume. In our example, we added longer notes at the start of each phrase.
Programming
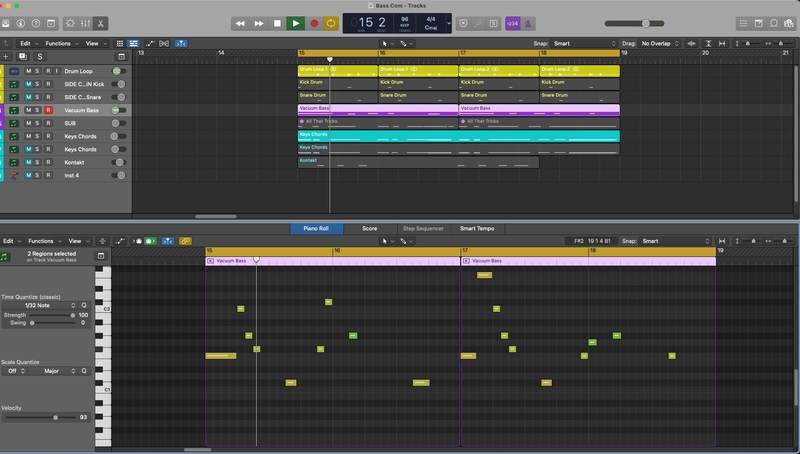
When working with MIDI and programming your bassline, it is important to pay attention to note velocity. Consider how heavily the performer would hit each note. In doing so, you can achieve a realistic sounding performance.
Leave room for sounds that need to be tight and quantised. By playing the bass ever-so-slightly behind the beat, percussive elements will cut through signals that fight over the same transient space. By sounding just after the kick transient, both instruments will have their own pocket to pop out of. Tuning your kick drum will also help separate the kick and bass.
Read the room
At the mixing stage, we should have all the other elements in the song recorded and a strong vision of how we want the project to turn out. When we mix bass, we need to consider the track's dynamics, support the melody, and follow the harmony and drums.
To start off, we need to focus on the relationship between the kick and bass. If you use monitors, put your fingers on the foam around the speaker cone and play your bass track on its own. Get used to how it feels. Once you are used to how it grooves, unmute the kick. Pay close attention to whether the bass loses power or distorts now the kick is introduced. If it feels tight, you are good to go. But if not, consider adjusting the kick drum's level, speed, and low-frequency information. Use EQ and compression to help the kick sit tight with the bass.
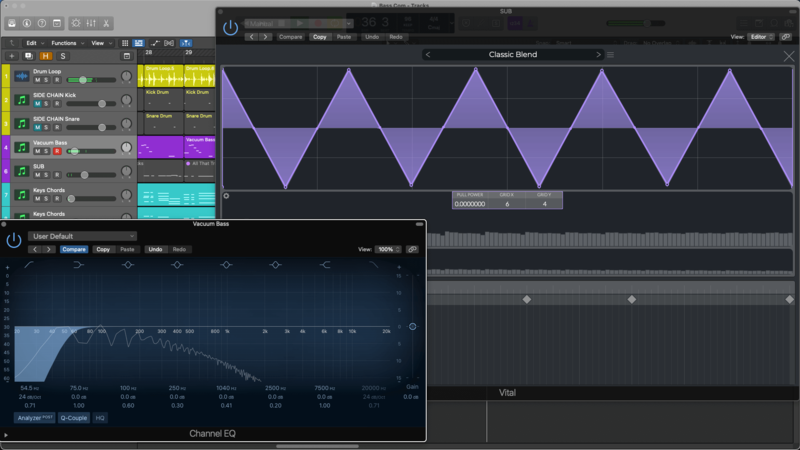
Compression, EQ and Saturation
Compression can tame the bassline’s performance dynamics. This will smooth out the highs and lows. Great for electric bass plucks and snappy synth bass, increasing the compressor attack time will make the initial transient hit of a bass note more perceivable. If your bass is smooth and low, keep your attack time short.
Aside from the kick, our drum track lives above 200hz. It has a lot of midrange transients and leaves plenty of low-end space to utilize. This is the perfect opportunity to have a subby bass mix. If you have a stripped back mix, you have room to add layers where a punchy, mid-range bass will sound great

Saturation helps sub-bass frequencies translate across different speakers. By adding subtle upper harmonics to the signal, we create an illusion of hearing low frequencies that aren't there. The saturation causes the listener’s brain to latch onto the bass' upper harmonics and fill in the gaps. This technique helps a subby mix translate, especially on small speakers.
Fluid low-end dynamics
Sidechain compression and dynamic EQing can carve out space in a dense frequency band. These are great tools to prevent low-end instruments from fighting over the same frequency range. Compressors and dynamic EQs can help a kick drum prioritise space in a bassline. Sidechain triggering will cause a compressor to duck the signal's level. By honing in on a frequency band, a dynamic EQ is more precise. Be cautious, too much of either might cause a loss of tone and impact.
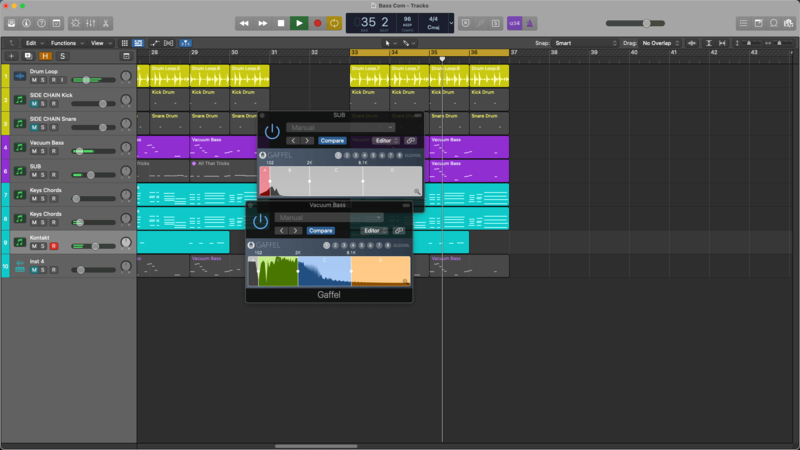
Layering bass as a mixing technique
Try splitting bass into two tracks: main bass and sub. The sub provides a dedicated channel to control low-frequencies and allows you to focus on your main bass sound in a separate channel. Here we use a high-pass filter to cut the lows of our main bass. Use a sine or triangle waveshape for the sub to help it blend and not dominate.