Blog
Creative Signal Chains with Loopcloud's Effects Plugins
17 Jun '2022
Loopcloud’s FX plugins offer plenty of creative potentials, but the order in which you position them matters to make creative signal chains.
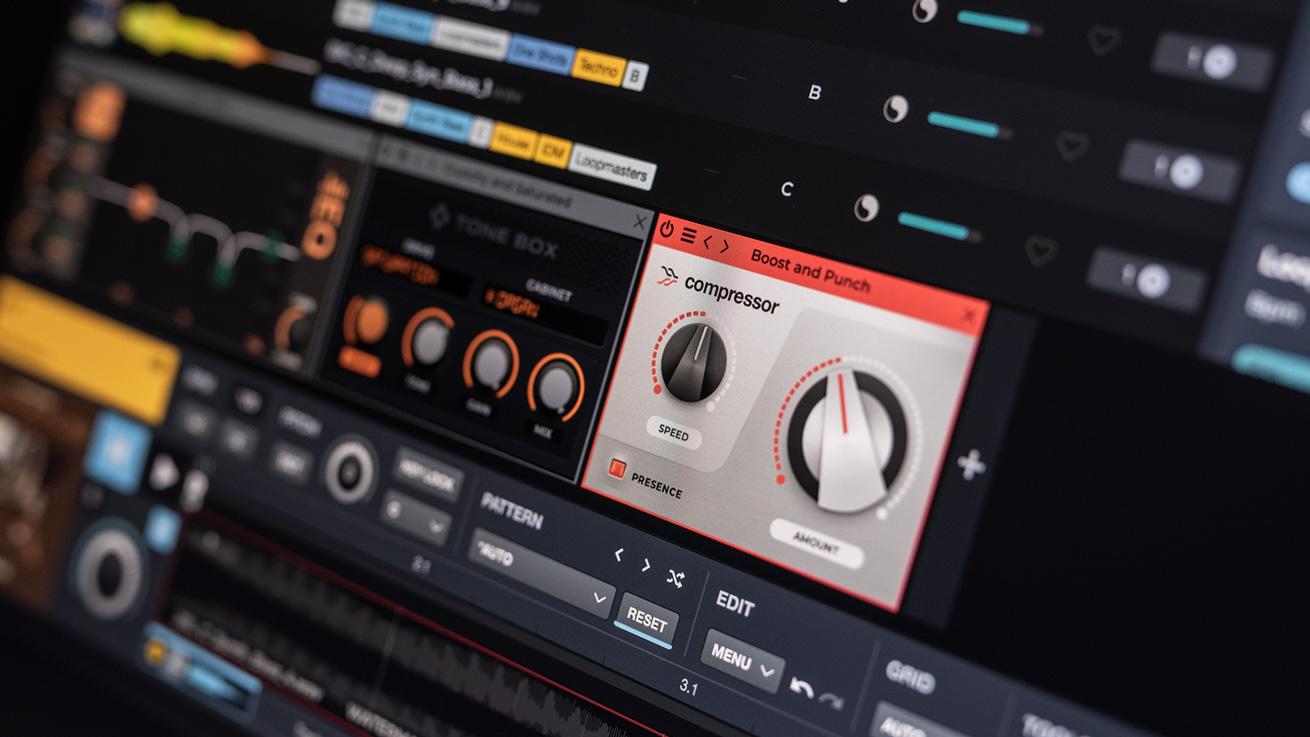
Loopcloud lets you process samples before you buy them with the in-built effect units. You can choose from 10 different effects and chain and reorder them to create some really interesting sounds. Once you’re happy with your sound design you can export the final, processed product as a WAV and use it however you like.
Effect chain order is really important in the sound design process. As your audio signal passes through the effect chain, the processing builds cumulatively. You can use the same effects, with the exact same parameter settings, but in different orders, and get very different end results every time. This article explores Loopcloud’s onboard effects and gives advice on how to order them to achieve certain sounds.
The effects
The effects in Loopcloud are basically plugins like you would find in a DAW. They’re fully featured, powerful, and give a lot of creative scope for sound design. Each effect also comes with a bank of useful presets for quick processing – let’s go through each effect and see what they can do.
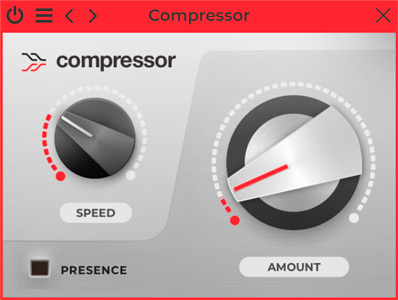
Compressor
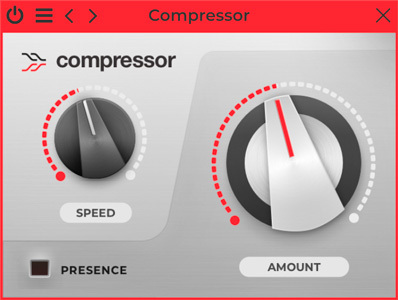
Loopcloud’s compressor lets you quickly play with the dynamics of samples. Set the Speed and Amount of compression and turn Presence on or off.
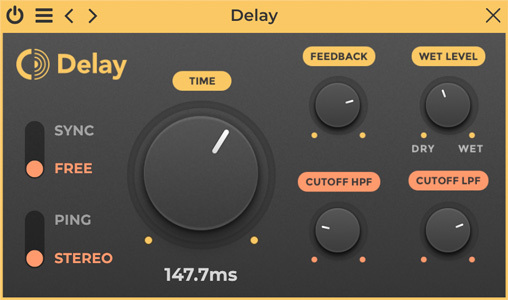
Delay
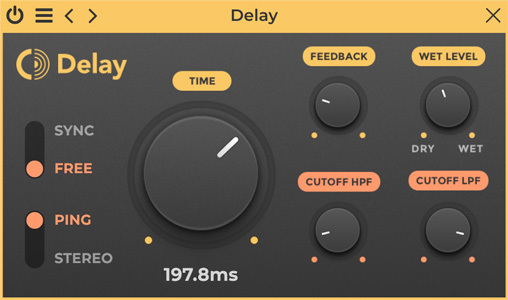
Add space and interest with the delay unit. Control the Time and Feedback level of the delay, Synchronize it with your DAW project, choose between Ping Pong or Stereo delay, set the Dry/Wet level and sculpt the delay with separate Hi and Lo Pass Filters.
EQ
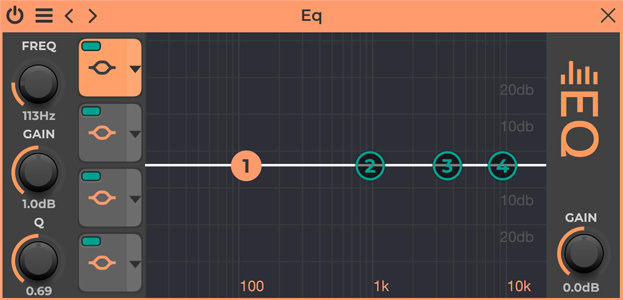
Loopcloud’s EQ is a simple four band EQ which allows you to tonally shape your samples. Choose Band Type, Q value, Frequency and Gain for each.
Filter
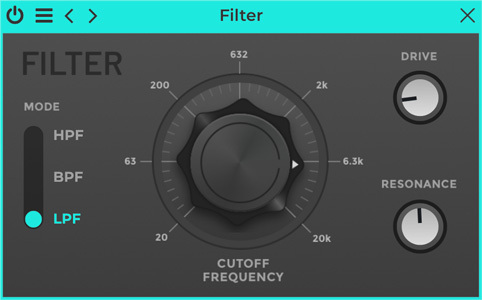
Choose between a Hi Pass, Lo Pass, or Band Pass filter type, plus set the Frequency, Drive, and Resonance.
Grain Stretch
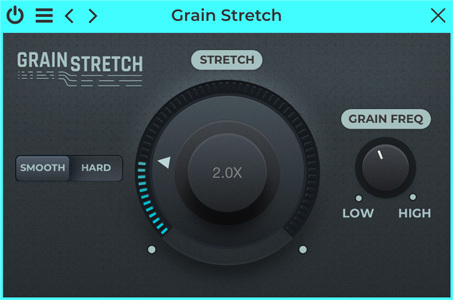
Apply granular manipulation to your sound with Grain Stretch. Transform your sound with Stretch amount, Grain Frequency, and Smooth or Hard algorithms.
Panner
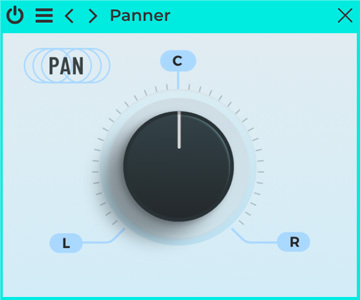
Panner is a simple pan that can send your sounds either left or right.
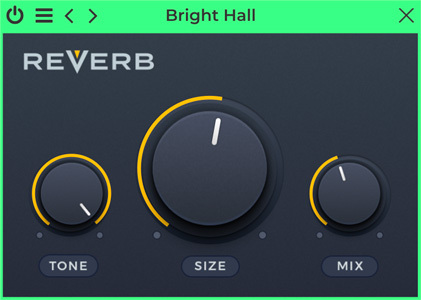
Reverb
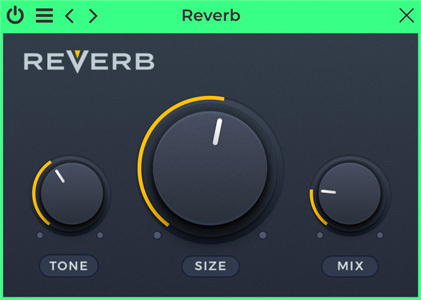
Add space to your samples with the reverb unit. Fine-tune the sound with Tone, Size, and Mix controls.
Stop Reverse
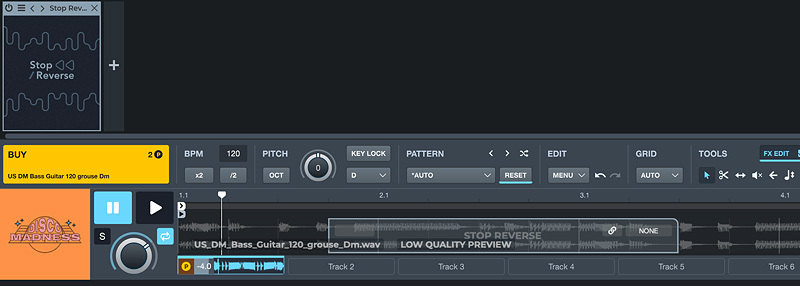
Create a slowing down stopping effect which resolves in a speeding up reverse sound with this tool. Resize the gray box in the waveform editor to alter where in your sample the effect takes place.
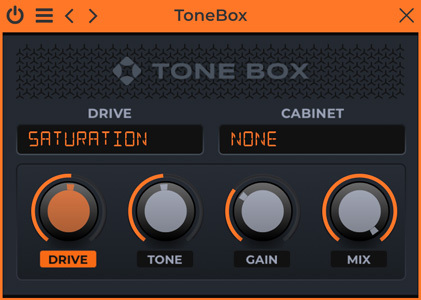
ToneBox

ToneBox is a distortion unit with six different modes and 18 cabinets to choose from. You can also fine-tune the fuzz with Drive, Tone, Gain and Mix dials.
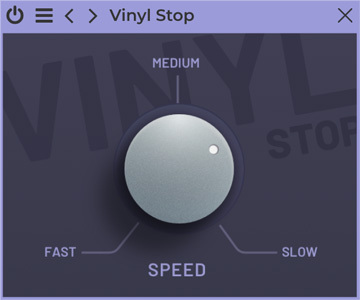
Vinyl Stop
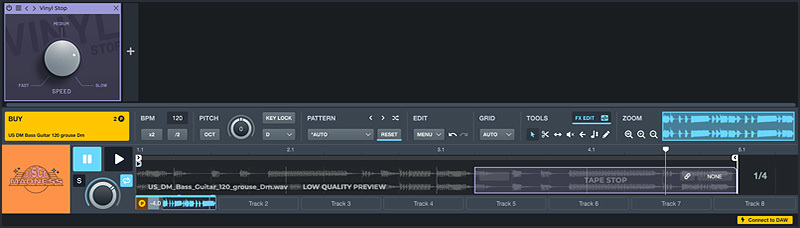
Create that classic vinyl slowdown sound with Vinyl Stop. Change the slowdown speed with the dial and set which part of the sample is affected by dragging the purple box in the waveform editor.
Chain order matters
So, why can’t you just put effects in any order in your chain? As a sound passes through a series of effects the processing is added cumulatively, and this means the same effects in different orders produce different final products.
Let’s work through an example. Say you have a four-to-the-floor kick drum pattern going through a delay unit. After processing you will hear the dry kick drum on every downbeat, as well as the wet taps from the delay unit. Now, if we add a reverb unit to the end of the chain both the original dry signal and the wet delay signal, will have reverb applied to them.
If we were to swap the two effects around (reverb followed by delay), we would get a similar but slightly different effect. The reverb would be applied to the original four on the floor kick drum pattern, after which delay would be applied. At the end of the chain, we would hear delay applied to the reverb signal, not reverb applied to the delay signal.
A classic chain order rule that should normally be applied (unless you want to break the rule for creative purposes) is to apply any audio repair effects at the beginning of the chain. For example, if you are applying noise removal to a noisy recording, position the noise remover first in your chain. This is because processing such as compression, distortion and reverb can make any problems in your recording worse and thus harder to deal with. By getting rid of any problems at the beginning of the chain you mitigate this.
Creative effect combos
Here are a few examples of cool effect combinations where the effect chain order is important.
Delayed wind-down
A creative way to create a transition sound, or a sample to place at the end of a track, is with a vinyl wind down with some delay applied. In this instance, it’s very important that the delay comes after the vinyl stop effect. This allows the effect to tail off subtly with delay taps gradually fading out. In this example, we’ll work with a drum loop from Industrial Strength’s Brooklyn Hip Hop.
We’ll start with the vinyl wind-down effect – set the speed to quite slow so we have time to hear the textures created by the effect.
Next, we’ll load Loopcloud’s delay. The best parameter settings will depend on the sample you’re working with and your personal preference; we’ve gone for a quick stereo delay.
Cohesive reverb
Sometimes wet reverb signals can sound disjointed from the source dry audio material, giving an artificial effect. A good way to solve this is to add compression after reverb in your effect chain. First, find a sample to work with. We’ve gone for a perc loop from Afro-Cuban Percussion Vol. 02 by EarthMoments.
Next, we’ll add some reverb. Most of the effects in Loopcloud come with a bank of presets for immediate results. For our loop, we’ve started with the Bright Hall preset and tweaked a couple of the parameters for the exact sound we want.
Finally, we’ll add the compressor. We’ve turned up the Amount slightly to bring up the reverb and make it a more noticeable part of the sound.
Effective filter sweeps
The final example we’re going to look at is filter sweeps. For a total, effective filter sweep you always need to put your filter last. Why? Because effects plugins can add in harmonics and extra higher frequencies that you don’t want if you’re performing a low pass filter sweep. This is an especially common issue when using distortion or saturation effects.
This time we’ll work with a disco violin sample from Real Strings Presents - Disco Strings Vol2 by Organic Loops, we’ll add some heavy saturation with the ToneBox effect.
Now we’ll load the filter module. We can use one of the in-built sweep presets to get an instant filter sweep or automate the cutoff frequency ourselves.
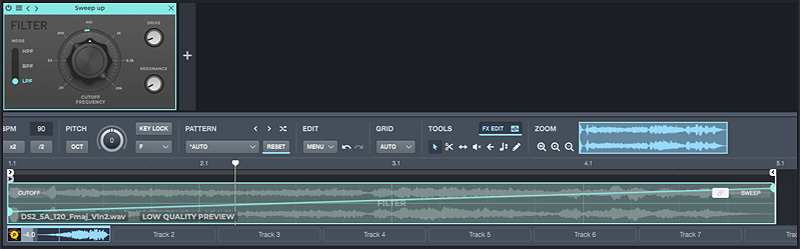
If you reorder the effects, you can hear how much less controlled the sound is when the filter is placed first in the chain.
Conclusion
With the info in this article, you should now have the toolkit you need to go out and experiment with chain orders in Loopcloud. Though we have mentioned certain chain ordering recommendations and suggested effect combinations, there really is no set-in-stone rules. Playing around with the order of effects can produce some interesting and unexpected audio treats.