Blog
6 Drum Mixing Tips with Loopcloud DRUM
28 Apr '2022
In this article we’ll show you how to get professional sounding drums tracks with the Loopcloud DRUM plugin.
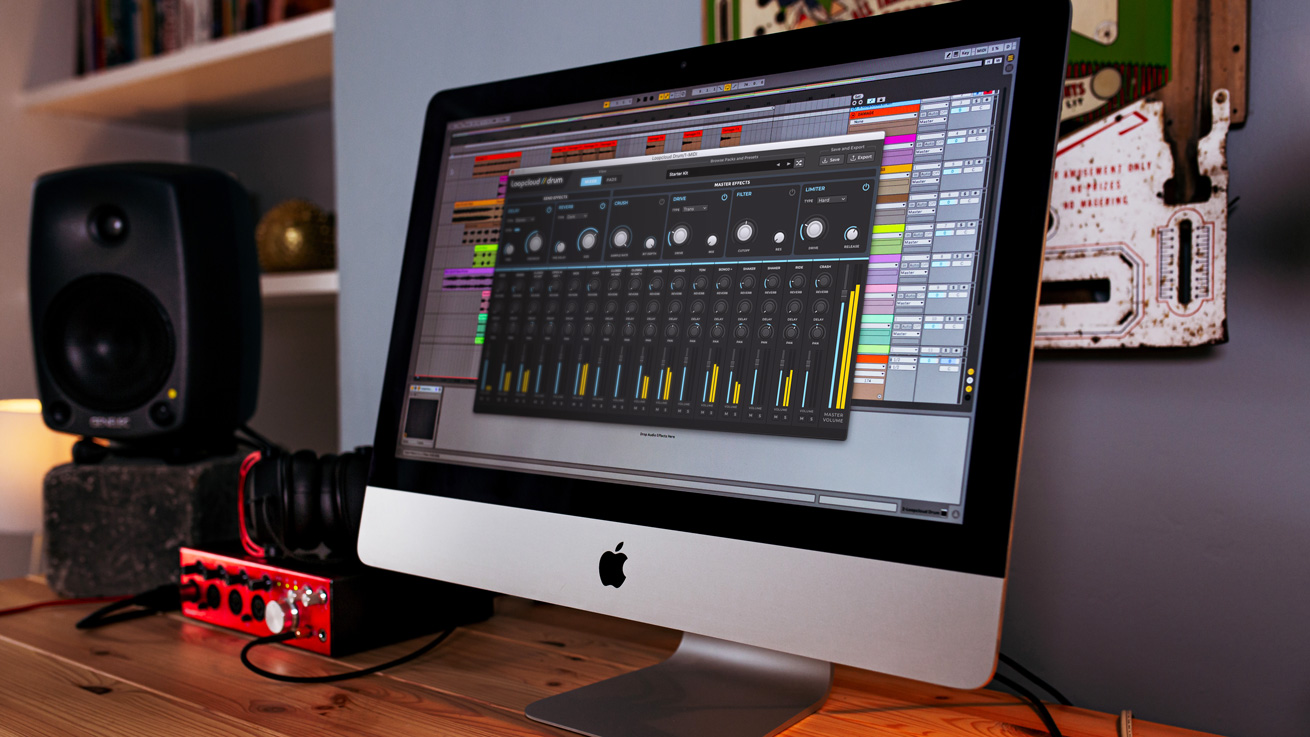
Loopcloud DRUM allows you to build and edit drum kits with your Loopcloud library, and access any sound in Loopcloud’s store straight from the plugin. You can also sequence drum patterns up to eight bars in length and export them in MIDI or audio format.
New in Loopcloud DRUM 2 is the ability to route channels within the plugin to separate tracks in your DAW. This gives you incredible sound design and mixing flexibility – we’ll go over how to do this later on in this article as well as four other tips to help you get great drum mixdowns.
Tip 1: Choose the right sounds
Ask some of the most successful producers and beat makers working today the secret to getting a good drum mixdown, and you’ll undoubtedly hear the same advice over and over again: sample selection is key.
It may sound obvious, but unless you start with a strong rack of samples, you’re never going to get crisp, professional sounding drums.
The sample selection process is made very easy in Loopcloud DRUM. DRUM is integrated with the Loopcloud desktop application which means you can quickly audition drums in your Loopcloud library (and your own samples that you’ve uploaded to Loopcloud). You can also find new drum sounds in the vast Loopcloud collection.
As all Loopcloud samples are made to the highest standards by some of the best artists and sound designers working today, you’ll always have high quality samples as a starting point when using Loopcloud DRUM. Here’s how sample selection works in DRUM.
Tip 2: Generate random kits
A quick way to get started with Loopcloud DRUM is to hit the GENERATE button in the Kit Generator section of the Main tab.
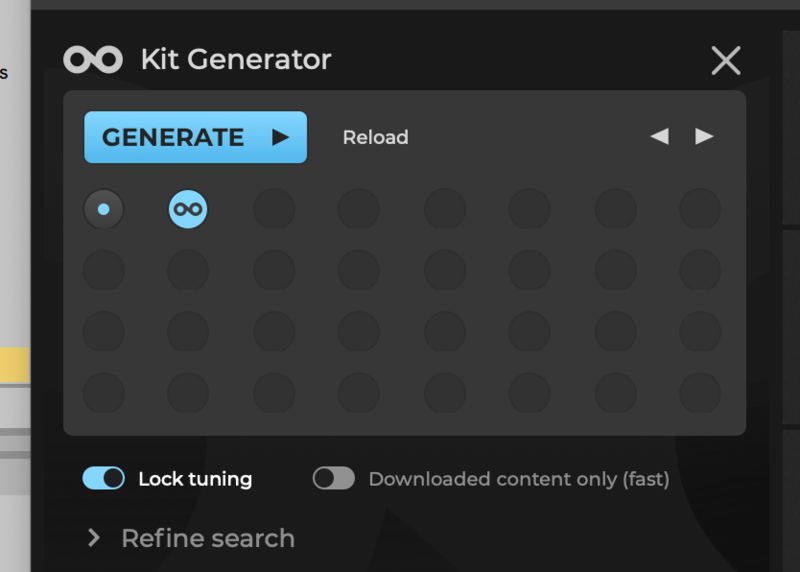
Clicking this button will populate eight of the 16 drum pads with samples from your Loopcloud library. You can cycle through different samples on each pad with the arrows until you find something you like.
Tip 3: Find specific sounds
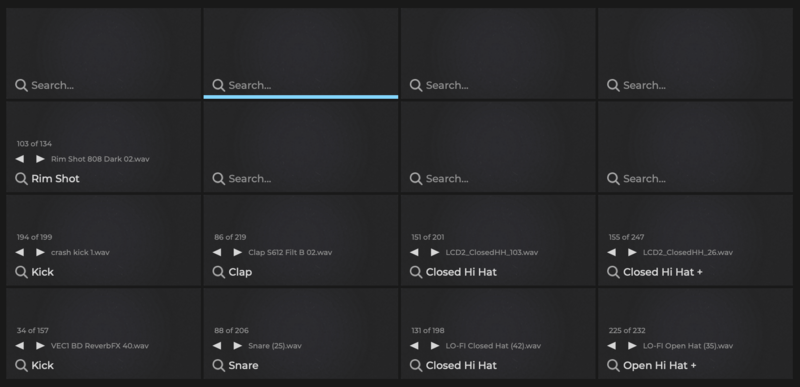
If you have a specific type of sound in mind, you can search your Loopcloud sample library from within the DRUM plugin. Each pad has a little search bar in it. If you start typing, say, Rim Shot, you’ll notice that Loopcloud will autocomplete the search term in the same way it does in the Loopcloud desktop application.
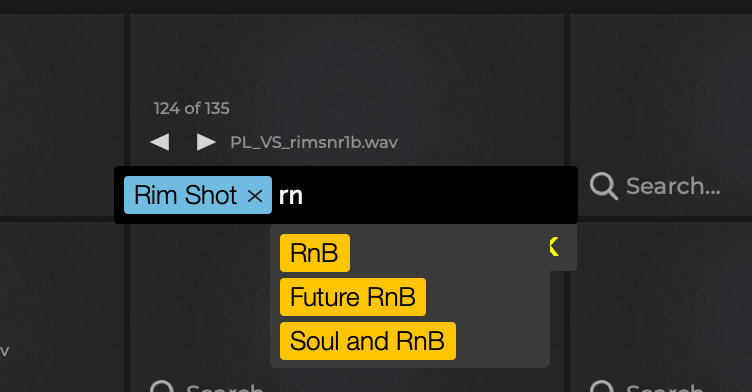
You can add different tags to your search and Loopcloud will find you a sample that matches, all you have to do is cycle through the results until you find that perfect sound. If no samples in your library match your search term, DRUM will take you to the Loopcloud app where you can search through the massive Loopcloud sample library.
Tip 4: Use Multi Output to process drum hits individually
With Loopcloud DRUM 2, you now have the power to process each drum separately using multi outputs.
Processing drums separately is a must for pro drums. A drum kit is made up of many different individual drums that each take up a different space in the frequency spectrum. For example, a kick drum is very bass heavy, whereas hats and cymbals contain a lot of information in the upper end of the frequency spectrum. In addition, different drum hits have different decay time which means you’ll usually want to compress them differently. Aside from the practical mixing side of things, there are also the creative reasons why you may want to process your drums on separate tracks.
Though you can, of course, use samples straight out of the box, it’s much more interesting to play with them a bit to add your own unique flair. Be it through distortion, delay, resonators or any other combination of effects, creative sound design is a powerful way to create unique rhythms.
That being said, Loopcloud DRUM does have two send effects and four master effects which you can use if you want a simpler, more streamlined setup. In any case, here’s how to set up multi-ouputs in Loopcloud DRUM.
Step 1: Assign outputs in DRUM
Go to the MIXER panel in the Loopcloud DRUM interface via the bar at the top of the interface. You will be presented with a mixer featuring a channel strip for each drum pad.
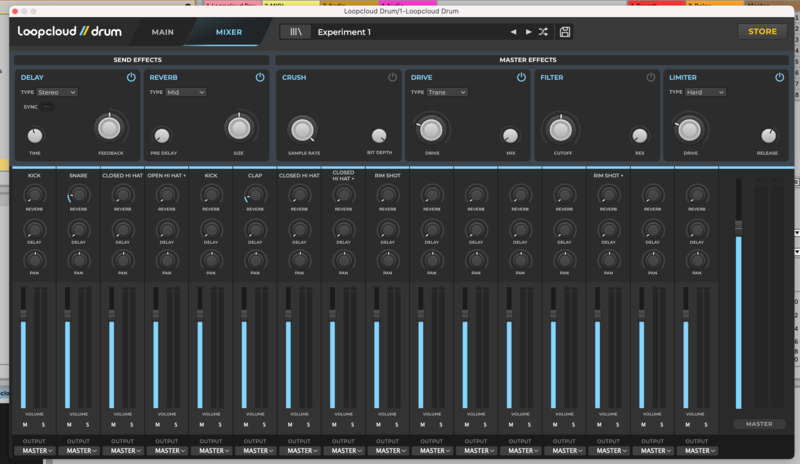
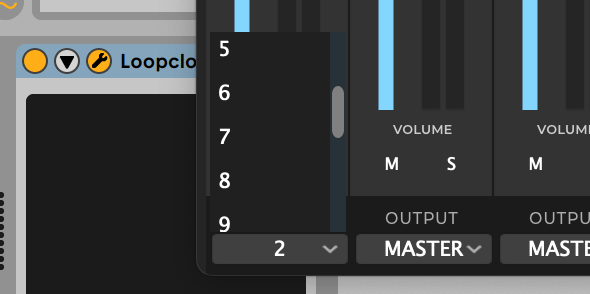
Below each channel strip you’ll find a drop down menu labelled OUTPUT with 16 available outputs. Choose an output for each channel strip.
Bear in mind, though it’s normally best practice to process drums such as kicks and snares on their own channel, hi hat samples and percs can benefit from being processed on the same channel to give them a cohesive sonic texture.
Step 2: Create tracks in your DAW
Now all you need to do is create an audio track in your DAW for each output you have used. Once you have these set up, set the audio input of each channel to one of Loopcloud DRUM’s outputs.
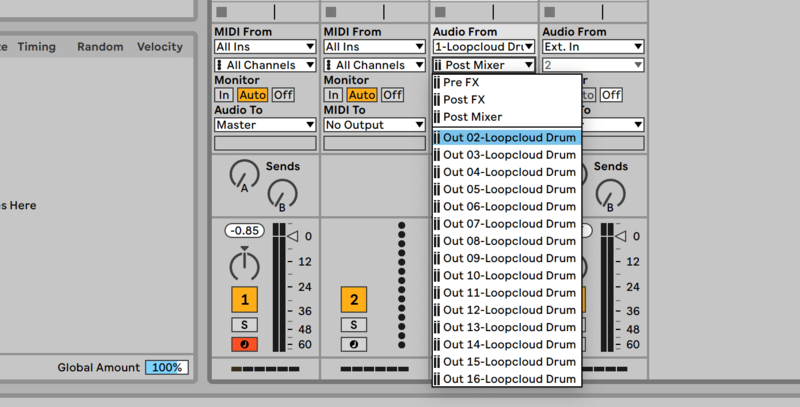
With this done, each new track in your DAW will have a different drum hit running through and you can process each track as you please. As a final step, it’s worth grouping all your drum tracks together to keep track of them, and to apply any group processing.
Tip 5: Add reverb for space
Though you may want to have completely dry drums for stylistic reasons, in most instances it’s usually beneficial to add a little bit of verb to your kit.
Reverb places your drums in real space, and if you apply the same reverb to each drum sample in your kit, then every sample will be placed in the same space – just like if you were to record a real drum kit. For this reason, applying reverb universally to your kit is really important if you’re working in genres such as rock, indie or disco where a ‘real’ drum kit sound is desirable.
Adding reverb in Loopcloud DRUM
Loopcloud DRUM makes it very easy to create a sense of space with its built in reverb send effect.
There are two ways to send a sample to the reverb unit. The first is to navigate to the MAIN window of Loopcloud Drum, select a pad, and then turn up the REVERB dial on the far right of the UI.

The second is possible via the MIXER window. At the top of each channel strip you’ll find a dial labelled REVERB, crank it up to send some of the signal through the reverb unit.
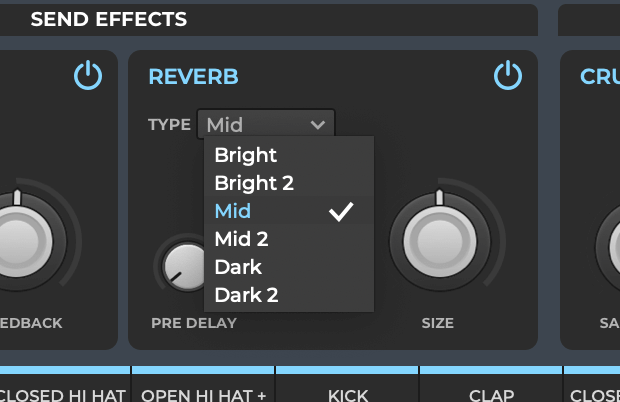
You can adjust exactly how the reverb sounds via the Reverb unit in the MIXER panel. Adjust the pre-delay and size of the verb plus choose a reverb type from the drop down menu.
Tip 6: Pitch your drum hits
You could be forgiven for thinking that the pitch of drum samples doesn’t really matter. After all, they are percussive sounds which provide rhythm, not melody, to your compositions. However, if you really want to build cohesive beats, drum pitching is a secret weapon that can help take your rhythms from good to great.
Every drum hit has a fundamental frequency. It’s not always very obvious, but this does provide them with a pitch – tuning drum samples to one another, and to other elements in the track, can add great cohesion and bring a subtle melodic element to your drums.
You don’t have to worry about being pitch perfect with your tuning. If you like you can load up your DAW’s in-built tuner and fine tune your samples, but it’s more important that they feel right together. That’s a case of tuning by ear until the drum hits start to bounce of one another nicely – here’s how to do that in Loopcloud DRUM
Drum tuning in Loopcloud DRUM
Tuning a drum hit in Loopcloud DRUM is simple. In the controls for each pad you’ll find a tuning section with two dials: FINE and COARSE.
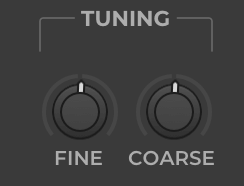
Turn the FINE dial to tune your drum hits by cents (that’s 1/100th of a semitone), and the COARSE knob to tune by semitone. Experiment with both dials until your drum hit starts to sit nicely in the track – this is trial and error but suddenly you’ll find that the sample just clicks.
Panning helps a lot
Spacing your drums out in the stereo field is a quick way to help them stand out from one another. In general you want your powerful drum sounds like you kick and snare to sit right down the middle of the stereo field, but other elements like hi hats and percs can be panned wherever you like.
Maybe you just want to add some stereo interest, or maybe you want to accurately mirror the stereo image of a drum kit. Either way it’s easy to do in Loopcloud DRUM.
How to pan samples in Loopcloud DRUM
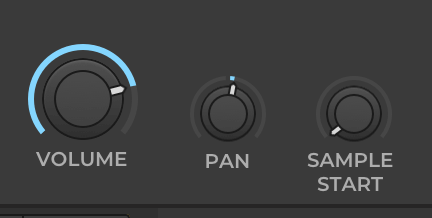
Panning in Loopcloud DRUM is very simple. To pan an individual sample, click on its drum pad to open the sample controls. You’ll find the PAN dial on the far left, right next to the VOLUME knob.
The tips in this article should give you a strong basis to start improving your drum mixing with Loopcloud DRUM. The first tip – choose the right sounds – really is the most important. If you start with high quality samples you often have to do very little to get a pro-sounding beat. For the best selection of drum samples out there, make sure you check out Loopcloud’s extensive library!