Blog
11 Preparation Tips for Performing Live Sets
4 Nov '2022
Performing your music live can be full of technical issues, but not if you follow our advice for staying out of trouble on stage, and get yourself prepared.

Whether you record your own tracks in one take from the comfort of your studio or are a producer with some experience DJing in a live environment, the jump to performing an entire live set can seem like a daunting prospect.
It’s important to consider your end goal and break down the necessary steps required to get you there. Do you need to refine your keyboard skills? Or perhaps you need to invest in a MIDI sequencer to free up an extra hand in live scenarios? Having all the necessary tools and techniques is a crucial starting point when embarking on your journey into live performance.

Organising your set
For DAW users and out-of-the-box musicians alike, a good live set starts with careful organization and planning. This may be easier if you have a linear setlist, where you start with one track and then move on to the next. But for more experimental and freeform performances, it can be a challenge to know where to start organizing.
1. Group your channels
Migrating an existing composition with hundreds of channels into a live performance can quickly get messy. Try to identify channels that you don’t need independent control over, then group, mix and export them as a new track. For example, you’re unlikely to need every vocal element on its own individual channel. Grouping and mixing them in advance will not only help you to navigate around your song when it comes to show time, but it will also save valuable time in getting your vocal mix right in a live setting.
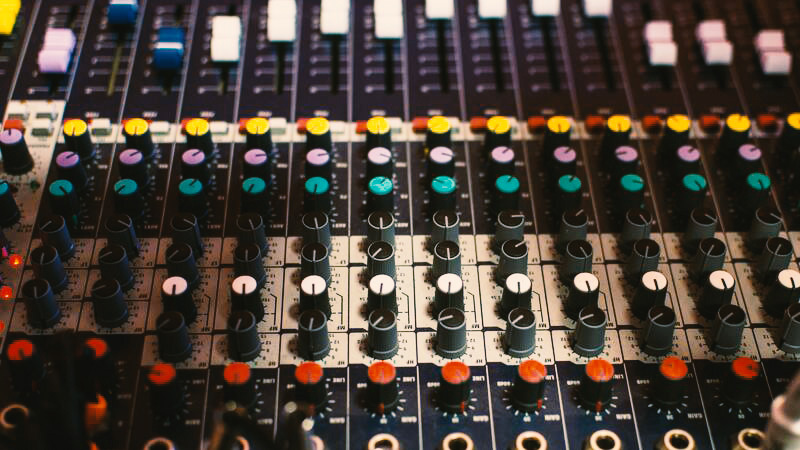
2. Establish an ordering process
You can also set up a standard ordering process for your channels so that everything is in the same place for every song. Whether that’s having a set order for your drums, basses, leads, vocals, and effects, or placing everything in the order they are introduced into the song, positioning things consistently across your virtual or hardware mixer will help you to quickly locate each element of your song.
By the same token, saving hardware presets and sequences in the order in which they will be played on the night will save you precious time when switching between songs during performances. Disclosure take their live set organisation a step further and use a MIDI keyboard to send program changes to the rest of their hardware. This means that at the press of a button, all of their hardware changes to the appropriate tempo, settings, and sequences for the next song.
3. Do a test run
Once you have figured out the most efficient way to organise your live set, it’s vital that you trial it to see what works and what doesn’t. Maybe you would like to be able to take the backing vocals out of a song during a breakdown, or it might be a stretch to get your hand over to where you’ve put your bass on the mixer in time for the drop. This will allow you to refine your setup until you find a configuration that works for you.
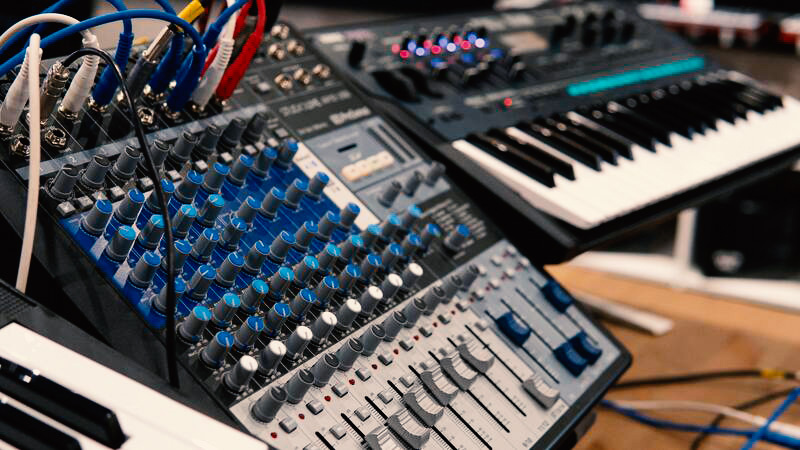
Preparing your equipment
Another way live performances differ from traditional DJ sets is the need to bring along your own equipment, rather than just a USB and some headphones. From forgetting cables to damaging keyboards, packing up half of your home studio before every set can be a source of stress. Thankfully, there are a few things you can do to minimise problems.
1. Write a checklist
Putting together a master checklist of your required equipment and accessories will help you to ensure you’ve got everything you need, and avoid any last-minute worries about whether you remembered to pack that obscure power supply that no one else will have a spare for.
A good way to do this accurately is to follow the power, audio and data signal from your mains power socket, all the way through to the point at which your music leaves the speakers. It can be easy to forget the odd power supply or MIDI cable, and this way you can be sure you have everything needed to get your equipment up and running.

2. Bring spares
To negate this issue, UK duo Overmono has duplicates of all their hardware so they know they have all the necessary equipment and cables packed for every show, and can avoid the relentless takedown and set up of their studio. While this might not be a financially viable option for many, even having a duplicate set of audio cables for live use will help to considerably reduce the time it takes to prepare for live performances.
Additionally, taking backup copies of important accessories can be a good insurance policy for when a battery runs out of juice just before a set, or an audio cable starts spluttering during sound check.
3. Label your cables
To streamline your setup times even further, labelling all of your cables ahead of time could save you some avoidable pre-show headaches. For the mega-organized, there are purpose-built and multi-colored cable-labels on the market. But for the rest of us, a sharpie and a folded strip of masking tape does the job just as well.
Setting up on stage
Now that you’ve organised your material, trialled your set up and labelled all of your cables, you’re good to go! Right? Not quite… Every venue, sound system, and setup is different, so you need to be able to adapt to a variety of settings and situations.
1. Compile a tech rider
Before the date of the show, try to get an idea of the venue’s equipment and how they run their events from a technical standpoint. If you get an opportunity to go to the venue in advance and meet the techs, then great. If that’s not possible, send them a tech rider with everything you need from them, and everything you’re bringing yourself.
Don’t forget to include how much table space your kit requires, how many power supplies you need and if there are any other special considerations. That way, you can iron out any potential setup or compatibility issues ahead of time, so there will be no nasty surprises for anyone.
2. Arrive at the venue early
On the day of the show, check everything you’ve packed against your completed equipment list. Then check it again. Once you’re confident you’ve got everything you need (including all of your neatly labelled cables), you can head to the venue leaving plenty of time to allow for delays in your journey or setup. Arriving late and flustered will not only give you less time to complete a thorough sound check but may mean you start your show stressed, making it harder for you to enjoy your performance.
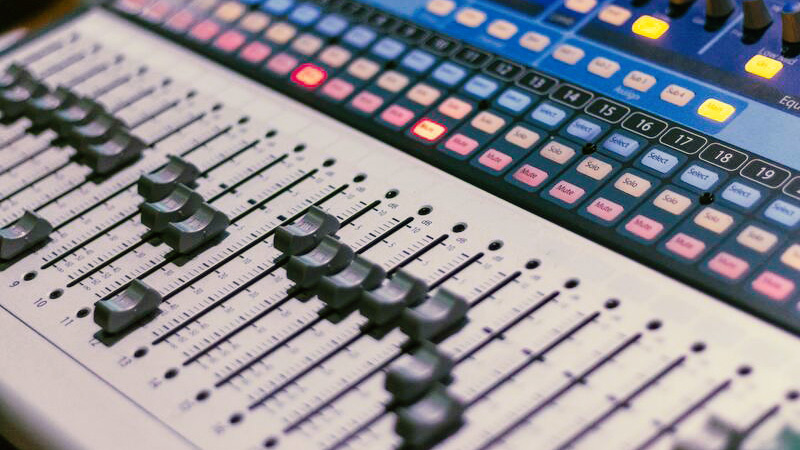
3. Set your levels in the sound check
During the sound check, you can use Mathew Jonson’s top tip for ensuring your setup and mix is optimized for your performance. Jonson suggests setting all of your mixer faders to 0dB, then using the channel gains to set your levels. This way, when it comes to balancing your mix during a set, you know to aim for 0dB on the fader which leaves some room to manoeuvre, just in case you want to push that kick drum a couple of dB at a key point in your performance.
During the set
Whether you’re a total novice or a seasoned veteran, live performances can be prone to mistakes. That’s what sets them apart from studio recordings, right? If people wanted flawless versions of your music, they’d just buy the album. That being said, there are ways to keep hiccups to a minimum and appropriately manage any blunders should they arise.
1. Trust your preparation
Given the complexities often associated with live setups, technical issues are just one cause of potential mid-performance problems. This emphasizes the importance of continuously practicing your show in the lead-up to shows, and allowing plenty of time for the all-important sound check. This way you should be well-versed in managing or mending any issues that could arise at crucial points of your set.

2. Don’t overreact if things go wrong
Unfortunately, no amount of practice or preparation can completely eliminate the chances of an issue rearing its ugly head. If something does go awry, it’s important to remain calm and try to figure out how to keep the music playing. Many times, the audience won’t notice a minor technical or timing issue, so don’t make any sudden decisions or changes to your mix as this may draw attention to the problem. Instead, you can slowly fade elements in or out to mask timing issues until you’re able to get everything back in sync.
If your set does suffer a complete cutout, there are ways to use the silence to your advantage. For example, when you get up and running again, slowly reintroducing the music during a big buildup can be a great way to get the crowd back on your side and within moments, they will have forgotten about the pause in your performance.