Blog
10 Essential Audio Tips for Content Creators
27 Mar '2024
Whatever content you’re creating, make it sound better with these quick and simple tips for improving your audio quality

To succeed as a content creator these days, you have to be somewhat of a Swiss army knife. You need to know how to use social media, how to market yourself, how to record and edit video, and of course how to record and edit audio. It can take a while to reach a professional level in all of these areas, and while we can’t help with all elements of content creation, here at Loopcloud we know a thing or two about audio.
Whether you’re producing podcasts, voiceovers, videos or any other type of content for social media or elsewhere, you’ll need to have tip top audio to ensure your work won’t sound out of place. In this article, we offer 10 essential audio tips for creating more professional content.
1. Use high quality royalty-free audio
The importance of professional and unique audio is often overlooked in the content creation world. Nothing screams badly produced content like amateur audio. Thankfully, it’s easier than ever to access a huge library of professional royalty-free audio through a flexible subscription service like Loopcloud. Whether you’re after sound effects, background soundscapes or full musical loops, Loopcloud makes it a breeze to level up your content with premium audio samples that will set you apart from the crowd.
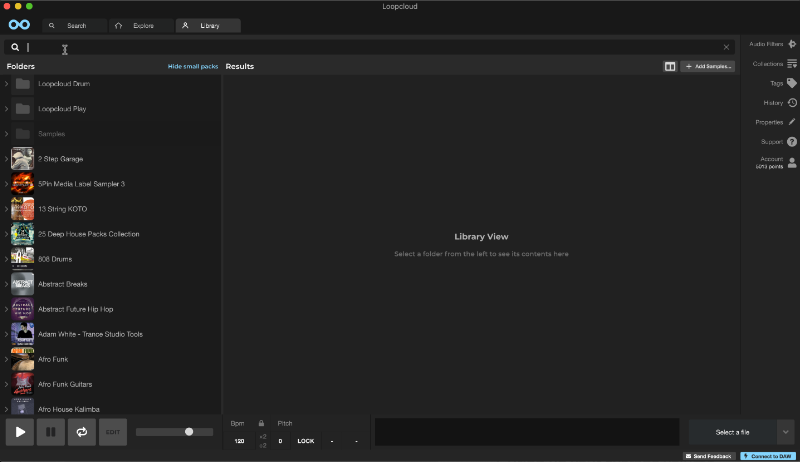
Loopcloud’s AI search technology lets you quickly search over 4 million samples, so you can find exactly what you need in seconds. Once you’ve found a sample, you get immediate and indefinite access to it across all your devices, so you can come back to it whenever you need to. Loopcloud subscriptions start from just £5.99 per month, but if you just want to pay for a sample on a one-off basis, Loopmasters has a huge range of samples available to purchase.
2. Bring up your average volume
Have you ever watched a video and had to constantly adjust the volume controls because some bits are too quiet and others are too loud? It’s all too common in the content creation world, but armed with some basic knowledge of audio volume and compression, you can ensure your audio volume remains at the right level at all times.
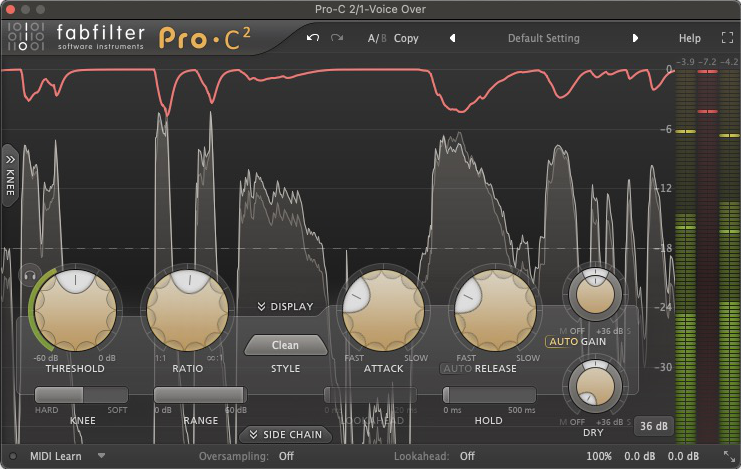
Most video editing software will come with some kind of audio compressor. A compressor automatically turns down the volume when it goes above a certain point. This means that the loudest parts of your audio are turned down, while the quietest parts are turned up. This increases the average level of your audio, making it more pleasing for your audience and helping your content to be heard over background noise.
3. Learn proper microphone technique
In order to capture high-fidelity voiceovers, it’s crucial to get your microphone technique dialled in. No microphone in the world will give you perfect audio unless you know how to use it. A good audio recording will capture one subject. While that isn’t always possible, there are a few methods for improving your audio’s clarity.
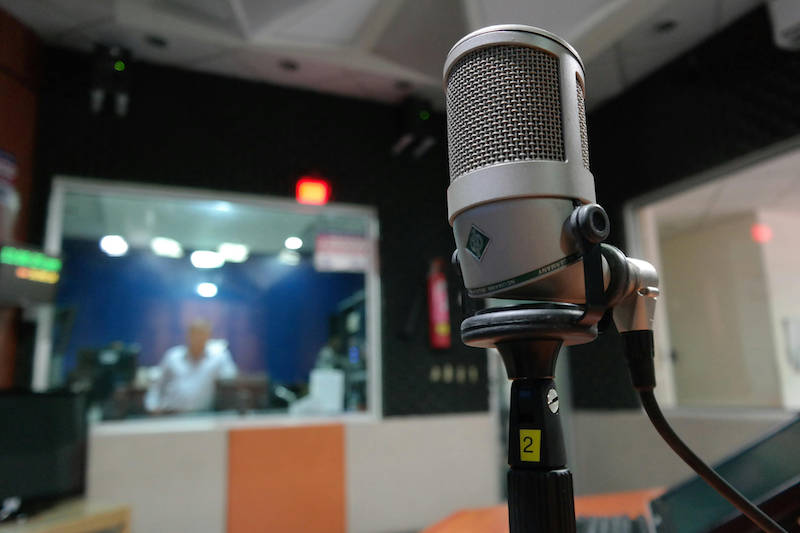
Try to minimise background noise – don’t go recording next to a building site. Speak into your microphone, not just towards it. At the same time, don’t treat it like your toothbrush – speaking too close to your microphone will result in unwanted pops, clicks and mouth noises. It’s also worth understanding your microphone type and how it works. Without getting too technical, different microphones respond differently to different placements and distances. Refer to your microphone’s user manual, as it may contain guidance on how to use your microphone in different situations.
4. Remove unwanted frequency content
If you have picked up some unwanted background noise, you might be able to tackle a lot of that using equalisation. Most video editing software and certainly all audio editors should contain some kind of equaliser, which allows you to alter your audio’s frequency content. Wind noise tends to sit below around 100Hz. Try to reduce or even cut the volume of the frequencies around this area to see if it attenuates the muffled sounds of the wind hitting your microphone.
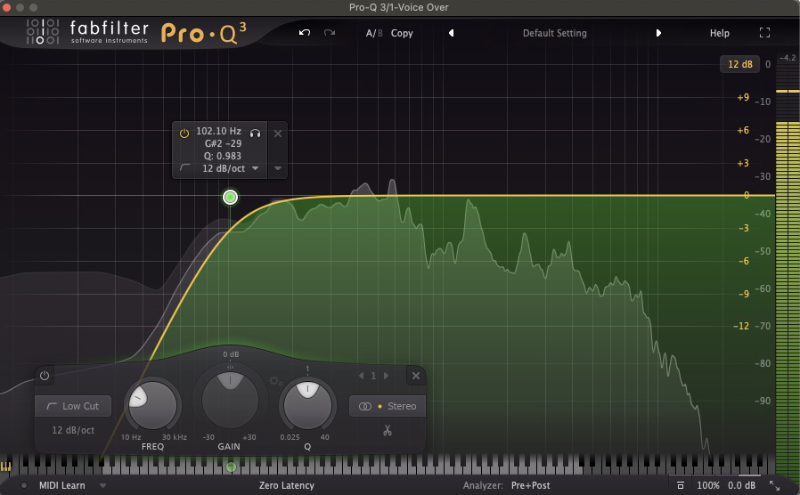
Similarly, electrical noise can be present in the same part of the frequency spectrum, and can often be eliminated with some clever equalisation. The result is a cleaner and more transparent sound that will be more pleasant for your audience.
5. Remove reverb and noise (and know the difference)
As mentioned in the points above, unless you’re recording in a professional studio there’s a good chance that you’ll occasionally pick up some extraneous background noises in your recordings. That might be wind noise, room reverb, or an electrical hum. But all is not lost, as there are a range of audio cleanup tools available to content creators that can be used to mitigate these issues.
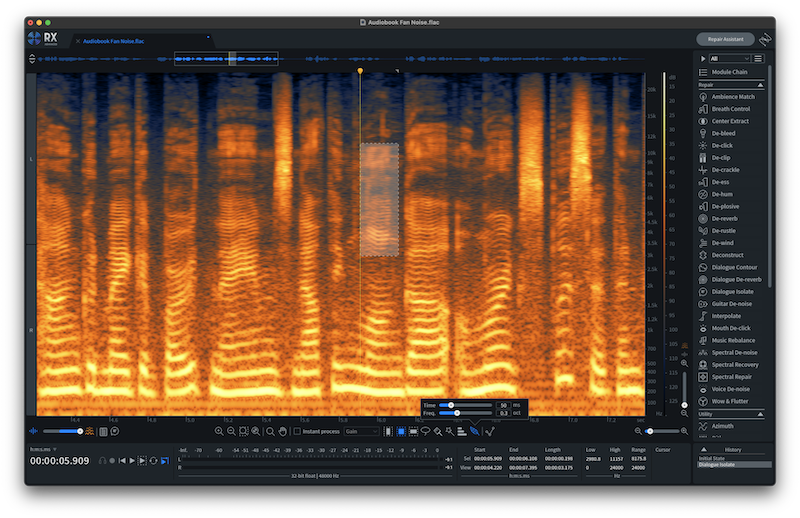
The ultimate audio cleanup and restoration tool is considered to be iZotope’s RX, which packs an array of powerful modules for fixing just about any audio issue you might run into. It’s fair to say that RX might be out of reach for some content creators, but there are some more budget-friendly options including Klevgrand’s Brusfri. There are even free audio restoration tools out there, including Murf.ai and Todd-AO Absentia DX Dialog Cleaning Software.
6. Program better fade-ins and fade-outs
Silence can be deafening, and that’s particularly true when you’re watching a video and the audio is suddenly cut. Let’s say you’re recording your voice in your room, and after you’ve finished what you’re saying you assume you’re clear to just cut the audio. This is likely to be picked up by your audience, as humans are extremely tuned in to room and background noise. Even though you’ve stopped speaking, your microphone will continue to pick up the noise that is inherent in your recording environment.
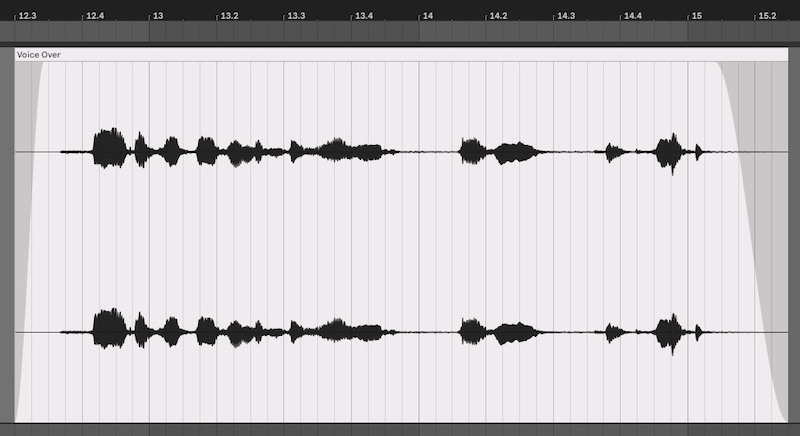
For this reason, it’s important to apply smooth and consistent fade-ins and fade-outs, as you would for the visual elements of a video. Cutting audio at the point at which there is audio being sounded can result in audio pops and clicks, which is jarring for your audience. Take your time when cutting and slicing audio, and listen back to it to check there are no sudden audio dropouts or clicks. Even the most basic editing software will have a fade-in and fade-out function, so don’t forget to use it.
7. Keep the quality high
One easy way to improve the quality of your content is to start with good-quality audio. Just like baking a cake or building some furniture, starting with ingredients or materials of the utmost quality will result in a much more professional finished product.
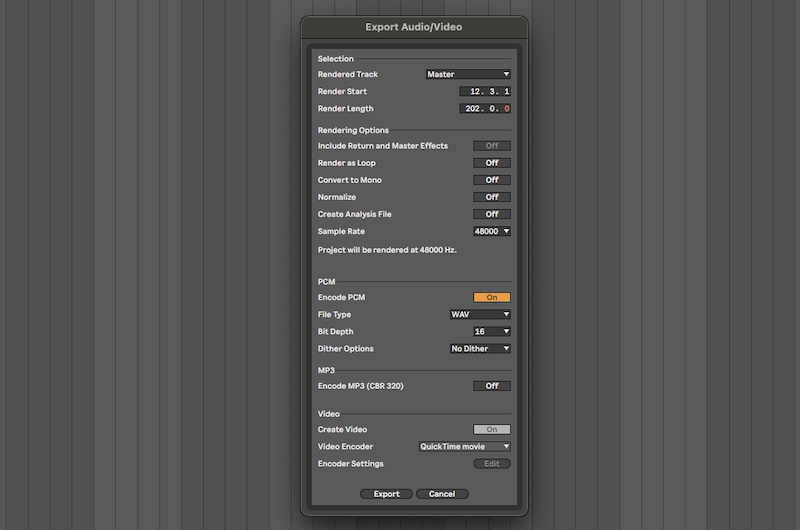
There are many kinds of audio file format, which can be a bit confusing if you’re new to audio. As a general rule, it’s best to work with lossless audio formats such as WAV, FLAC or M4A. While some online platforms will alter the quality of audio when you upload your content, starting with the best possible quality will result in a higher-quality upload.
8. Here’s how to make voice audible over music
We’ve touched on how equalisation or EQ can help to remove unwanted frequency content, but it can also be used to create space and separation between multiple audio channels. For example if you’ve got background music and a voiceover, you’ll need the voiceover to sit in front of the background music so that it’s clear for your audience, and EQ can achieve this positioning.
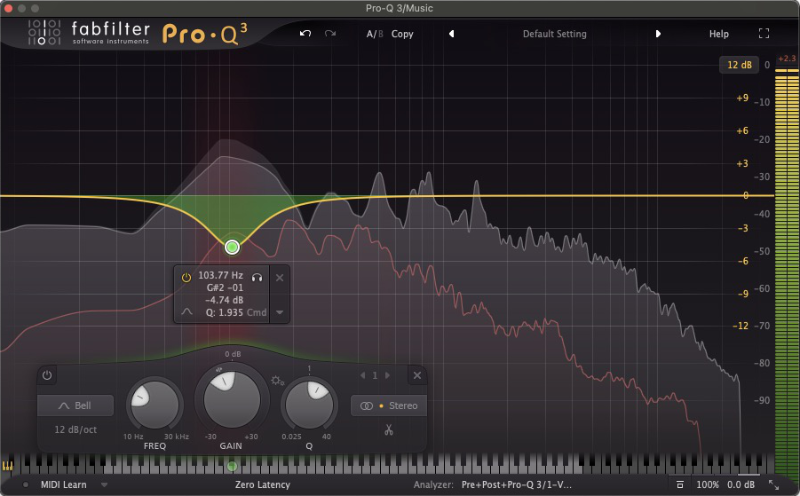
The most pronounced frequency of a male vocal tends to be around 100Hz, while a female’s is around 200Hz. Using an EQ, try emphasising those frequencies on the vocal channel, and reducing them on other channels. If your vocal recording is lacking intelligibility, try subtly boosting around 2kHz to 6kHz. Hard sounds such as ‘S’, ‘T’, ‘Ch’ are known as sibilance, and ensuring these sounds are audible can help to make voice overs easier to understand.
9. Audio volume is cumulative
If you’re creating content with multiple audio channels sounding simultaneously, you’ll need to be wary of the overall volume of your video creeping up. Combining audio can give you a considerably louder video than just using a single sound source. For that reason, it’s important to turn down each audio source for each new source that you add into the mix.
It’s also helpful to think about how you arrange your sounds - do they all need to play at once? If not, you can allow each element to retain their original level and ensure that they still remain intelligible to your audience.
10. Watch your volume levels to avoid clipping
Failure to consider tip nine, or just simply turning your volume up too loud can result in audio clipping. This is when there is audible distortion in a sound signal that can be extremely uncomfortable for your listeners.
We’re all guilty of turning up our audio thinking that it sounds better. This is actually down to a psychoacoustic phenomenon known as loudness bias, where we perceive louder to be better. Your video editor should have a loudness meter which shows you how loud your audio is. This should remain below 0dBFS, as anything over this point is considered to be clipping within the digital domain.
FAQs
How do content creators record audio?
Recording audio for content creation is relatively straightforward and requires only a few key pieces of equipment. To record audio you’ll need a microphone to capture sounds, and an audio interface to handle the signal from the microphone and convert it into a format that your computer will recognise.
Aside from this, content creators use recording software to process and edit the recorded audio, and speakers or headphones to listen back to their work.
How can I make my audio sound better?
If you want to get better sounding audio, there are a number of things you can do that will make an instant impact. First, find the best quality microphone that you can afford, and set it up with a stand. Use a pop filter to protect your recording against plosives or hard “P” sounds.
Next, make sure you are recording in a quiet environment, to limit background noise. Record your audio in high quality, using an audio interface. Make sure to check your volume levels before recording, doing a test run is always recommended.
What skills should a content creator have?
Being a content creator involves handling a number of tasks at once, which is why it’s important to be as multiskilled as possible. Some of the skills that a content creator should have include:
- Social Media
- Networking
- Marketing and Branding
- Video and Audio Recording
- Video and Recording Editing
- Graphic Design