Blog
How to Record Drums – Full Guide and Tips for at Home or in the Studio
4 Nov '2024
We explore some basic drum recording approaches and techniques, as well as some alternative options for incorporating quality drums into your productions

Photo: Emocionaligencia Inteligencia Emocional on Pexels
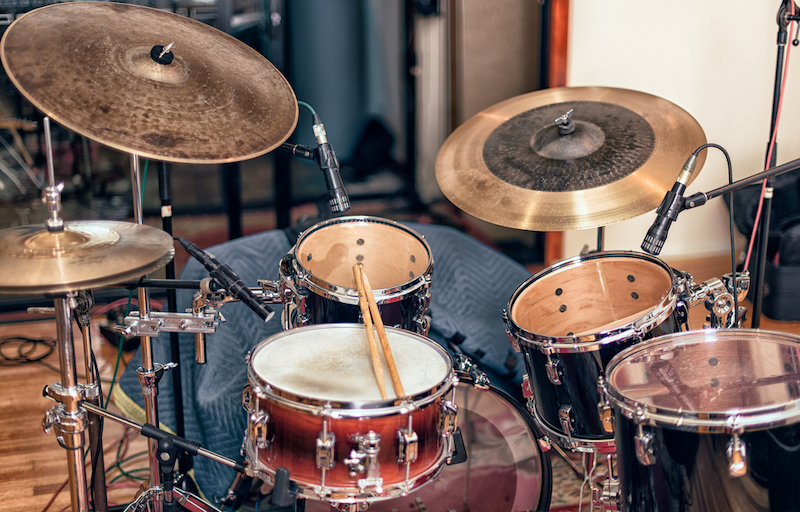
Unlike other instruments such as saxophone and guitar, drum kits have several individual components which each have their own frequency and transient characteristics. For this reason, there are many drum recording techniques using different types of microphone, and each of them give a different result. While we can’t cover every drum recording technique in this article, we can certainly provide some useful advice on capturing great drum recordings at home or in the studio.
What is the best microphone for recording drums?
As mentioned, there are an abundance of drum recording techniques which require different microphone types and characteristics. Let’s take a look at the some of the microphones you might use when recording drums.
Microphone types
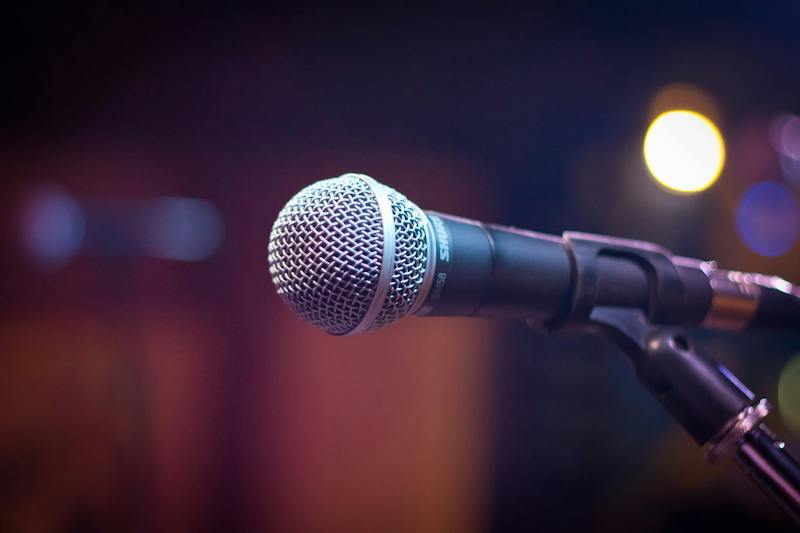
The two most common types of microphone are dynamic and condenser. Generally, dynamic microphones are preferable to condenser mics when recording drums. One reason being that dynamic mics are less sensitive, making them better suited to recording loud and dynamic audio sources such as drums.
Additionally, dynamic microphones are more directional so pick up less external noise, making them particularly useful where there are several sound sources in different locations. Dynamic microphones also tend to be more robust than condensers, meaning they are less susceptible to damage when sustaining accidental strikes from drum sticks.
Credit: Pixabay
On the other hand, condenser microphones generally sound more natural, and are better at capturing sonic details than their dynamic counterparts. For these reasons, condenser mics often make great overhead microphones. In an overhead position, condenser mics can capture a more natural recording of the overall kit and room, and will also remain safe from particularly enthusiastic drummers.
Dedicated kick microphones
One of the challenges associated with recording drums, is that each drum part contains different frequency content. From the low frequencies of a kick drum, all the way up to the high frequencies of a hi-hat, drum kits occupy the entire frequency range. With this in mind, it’s important to consider frequency response when deciding on which microphone(s) to use.
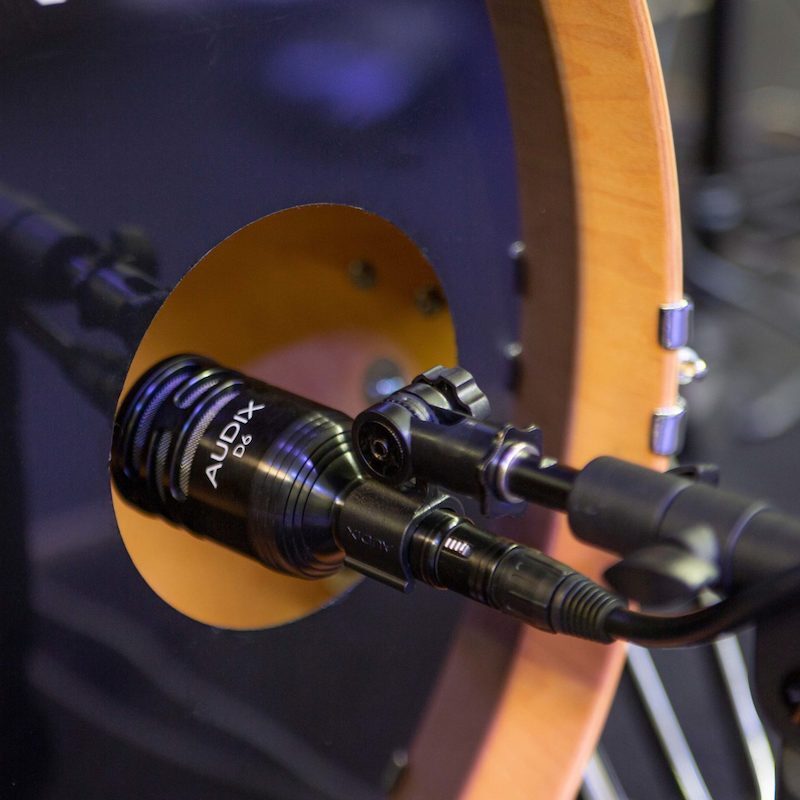
The Audix D6 is designed for kicks and more (image by Audix)
There are dedicated microphones available for kick drums, which are typically large-diaphragm dynamic microphones with more sensitivity in the lower frequencies. Their larger diaphragm means they generally offer a fuller sound than traditional dynamic microphones, and their low-frequency sensitivity makes them ideal for capturing the full character of your kick.
A specific drum microphone isn’t essential, as great kick recordings are possible with a well-positioned dynamic microphone. A kick microphone may just make it easier to get the desired sound.
Microphones for other drum parts
In terms of recording other drum parts such as cymbals, toms and snares, you can achieve great drum recordings with any dynamic microphone you have at your disposal. It’s often said that the best microphone for any given task is the one you have, provided it’s positioned correctly. With that in mind, we’ll next be considering some microphone configurations for recording drums.
Where to record drums?
In an ideal world, we’d all have an acoustically treated home-studio. Sadly, that’s not possible for the majority of us, so we need to consider other suitable recording environments. One option is to book out a professional music studio. This will likely give you the best results due to being a specially optimised acoustic environment, with all the appropriate room treatment for capturing professional recordings.

Credit: Hồ Thành at Pexels
If you’re recording at home, try to use the biggest room available, as this will help to reduce unwanted room noise. Acoustic treatment such as wall panels and bass traps will help to deaden the sound of the room, giving your recording more clarity. If you don’t have acoustic treatment, furniture such as book shelves, sofas, beds and rugs can go some way to absorbing and dispersing sound waves.
How to position your microphone(s) for recording drums
The complexity of drum-recording configurations can vary greatly, from single-mic techniques to full suites of dedicated microphones. The right technique for you will depend on your budget and resources, as well as the drum sound you’re hoping to achieve. Let’s take a look at some useful drum recording configurations.
Using a single microphone
Often, the simplest solution is the best, and this drum mic recording technique might give you everything you need from a recording. By placing a single condenser microphone in front of the drum kit, you can capture a natural and balanced sound, along with some of the inevitable room noise in your recording space. Another advantage is that you will avoid any nasty phase issues that are frequently encountered when multi-miking any instrument.
Try placing the microphone approximately one metre in front and above the front of the kick drum, pointing at the middle of the drum kit. Alternatively, try placing a microphone above your shoulder, again pointing at the middle of the drum set. Both of these positions ought to give a relatively balanced sound between drum parts, but you can adjust the mic position and angle to capture more or less of each part as per your preferences.
The downsides to this recording technique is that recording with a single microphone will give a mono recording. While this might not be an issue, it’s something to consider when choosing a drum recording approach. Using a single mic also limits your ability to control the level of each drum part, as well as your ability to independently mix each drum part after recording. Of course you can test different microphone positions and directions in order to adjust the balance and tone of drum parts, but mixing drums after the fact becomes challenging.
Using a pair of microphones
As you add more microphones to your drum recording configuration, you gain more control over the balance and stereo image. With that, you also increase the likelihood of running into phase issues when combining multiple recordings at the mixing stage. Using a pair of microphones is still a relatively minimalist approach, and might be a good compromise between these factors.
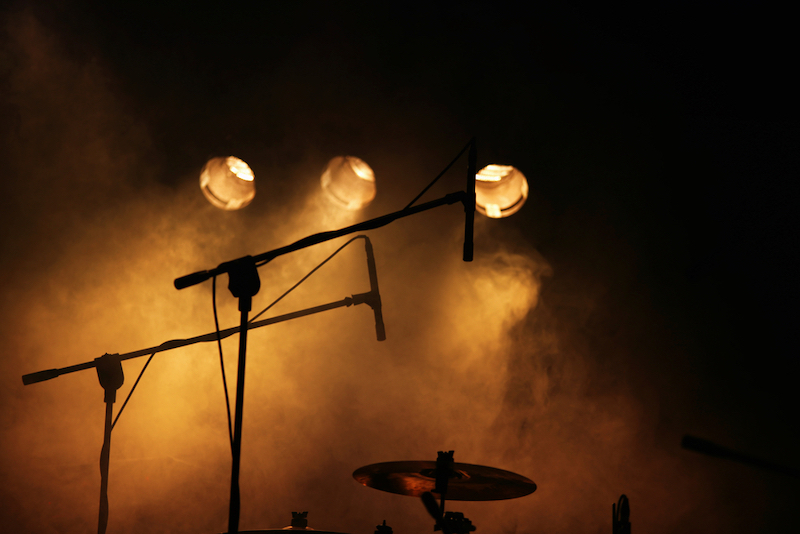
One mic positioning technique that utilises two matching microphones, is the spaced pair technique. Try positioning a left and right microphone at equal height, equidistant from the kick drum. Unequal distancing from a sound source will cause sound waves to arrive at the microphone at different times, thus causing phase issues. Because the kick has the longest sound waves and is therefore most susceptible to phase issues, it’s advisable to prioritise the mic positioning around this part of your drum kit.
Using additional microphones
Once you’ve refined the one and two-mic configurations outlined above, you can start to consider where you might want to add further microphones to elevate your recordings. For example, if you’re not getting enough snare, you may opt to add a dedicated snare microphone and direct your overhead mic at the toms and cymbals instead.
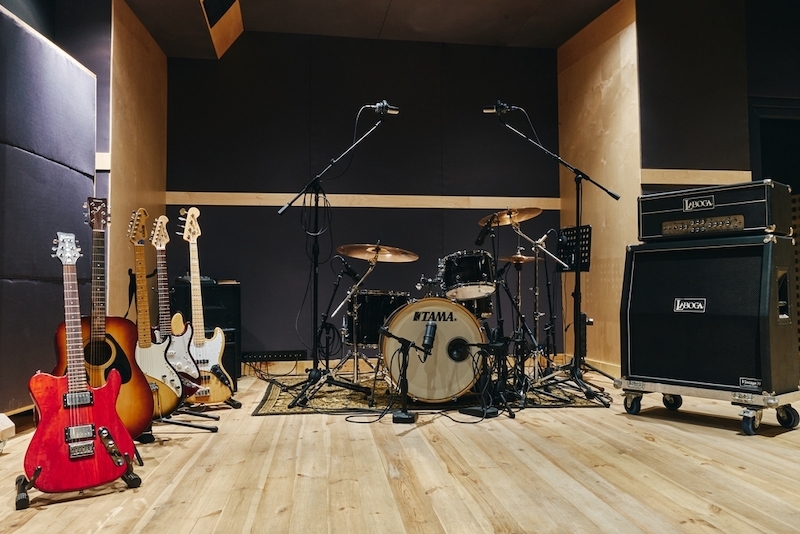
As with many music production and recording techniques, it’s important to use your ears above everything else. While we’ve highlighted some drum recording guidelines, many popular recording techniques are discovered by accident, so try a range of microphone types and configurations to see what works for you.
Using drum samples from Loopcloud
If your drummer’s gone AWOL or you want to bolster out your drum recordings with some professional drum samples, you can explore Loopcloud’s huge offering of high-quality drum loops and one-shots. Whether you’re sequencing your drums for precision, or playing them in with an electronic drum kit for a more natural feel, Loopcloud has got the right drum samples for your productions.

For real kick samples, check out Loopmasters’ Real Drums Acoustic Kicks Volume 2. The pack contains 50 royalty free kick samples, from deep sustained thuds to tight kick transients. If it’s snare samples you’re after, Loopcloud’s Real Drums Acoustic Snares series of sample packs has you covered. The 100-strong sample pack contains a range of snare sounds, from copper and radio to hoop and manu.
If you’re looking for more of a diverse range of drum kits and samples, Loopmasters’ Real Drums - Vintage Oyster Pearl pack should fit the bill. With a whopping 668 samples in the pack, you get a huge array of kicks, snares, toms, hats, cymbals and more. Alternatively, a Loopcloud subscription grants you access to nearly one million royalty-free drum loops and samples which cover a range of styles, so you can find the exact drum sound you need, when you need it.
FAQs
What do I need to record drums professionally?
Professional drums can be recorded with as little as a drum kit, an audio interface and a single microphone, but this has some limitations in terms of stereo width and mixing options. You may be able to record more professional drums with more microphones, but microphone position is of paramount importance when multi-miking any instrument.
Can you record drums at home?
With the right knowledge and some basic recording tools, you can absolutely record drums at home. To improve the quality of drum recordings, you should record in an acoustically treated space, test multiple drum and microphone positions with a range of recording configurations. This will help you to establish the best recording setup for your space and equipment.
Do you need a mixer to record drums?
A mixer isn’t necessary to record drums, however, a mixer may enable you to apply EQ, panning and further processing before the signal reaches your DAW. You will however need an audio interface to feed the microphone audio into your computer.

