How To Make Breakbeat Techno Edits With Breaks Techno Tutorial
Combining the trance-inducing stomp of 4x4 kick drums with the gritty grooves of sampled breakbeats has been a techno trope since the early days of hardcore rave, and processed, pitched breaks were an important element of the early sounds of drum ‘n’ bass. In recent years breakbeats have come back into vogue thanks to the likes of Paul Woolford’s Special Request project, so let’s take the opportunity to twist up some beats for ourselves with Undrgrnd Sounds Breaks Techno.
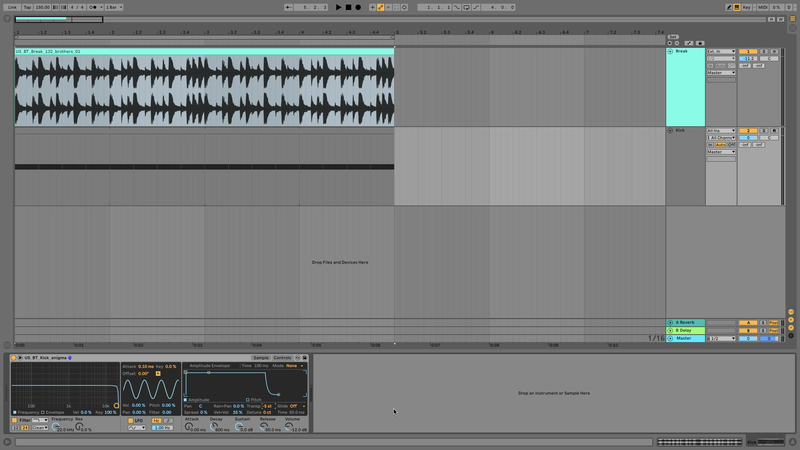
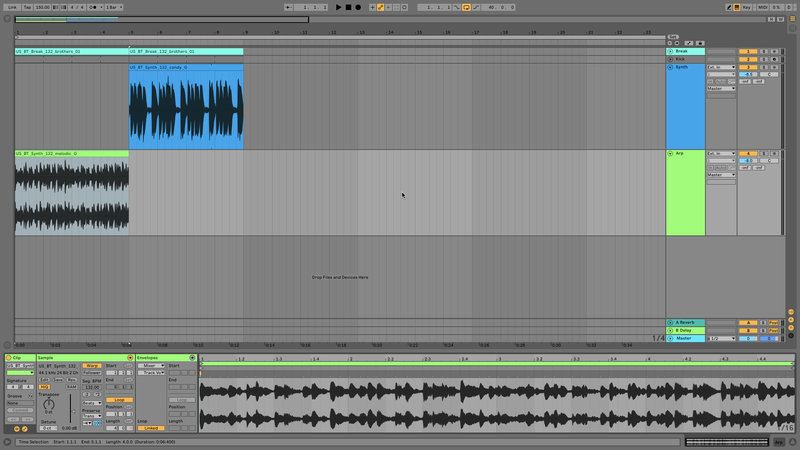
1. Begin by setting your project tempo to a whopping 150BPM, then bring in a break with an authentic old skool flavour such as US_BT_Break_132_brothers_01. You’ll want a kick that sits well with this break in the mix, so bring in US_BT_Kick_enigma and tune it down to -5 semitones which will have its tuning sounding tight with the break.
2. Add US_BT_Synth_132_melodic_G and US_BT_Synth_132_candy_G to the project to get some musical elements in there. These samples are pretty rhythmic and staccato, so use Live’s Beats mode to timestretch them, which maintains their transients more effectively than other modes.
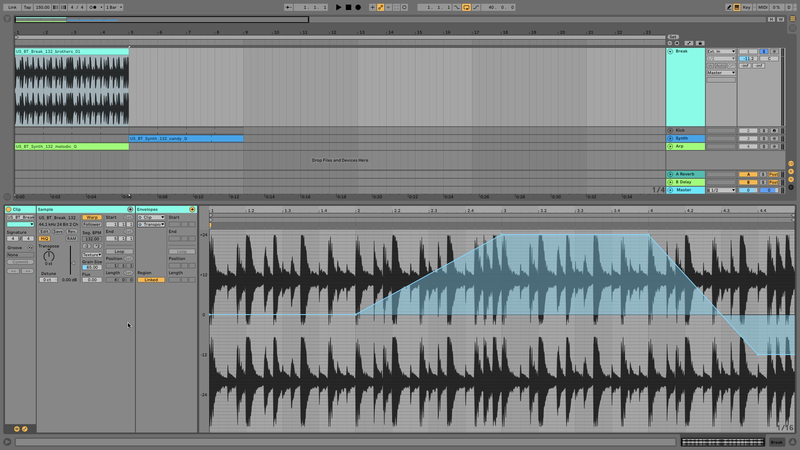
3. There are tons of ways to apply a pitched, metallic quality to breakbeats. If you like to work quickly you can pitch-shift them in your DAW or a software sampler.
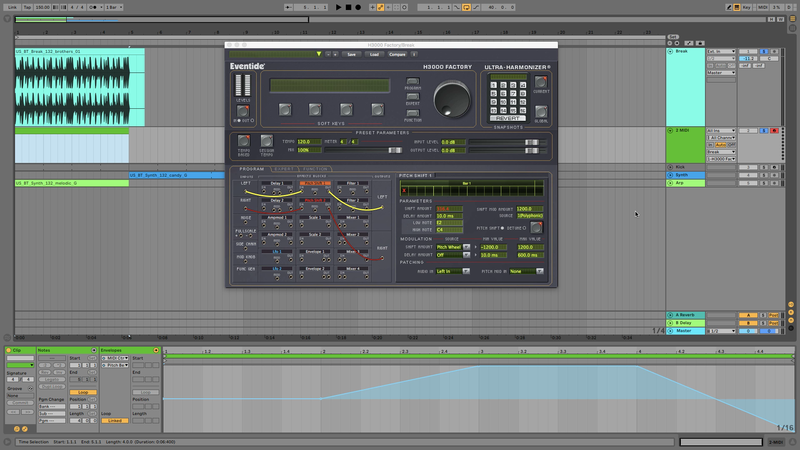
4. For a more authentic approach you can pitchshift it with the Eventide H3000 Factory plugin.
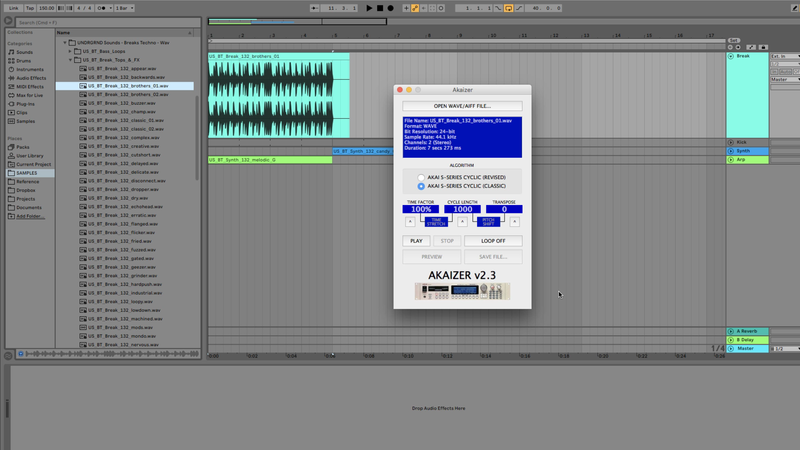
5. Or use the free stand-alone Akaizer application which emulates the granular timestretching algorithm of Akai’s early hardware samplers.
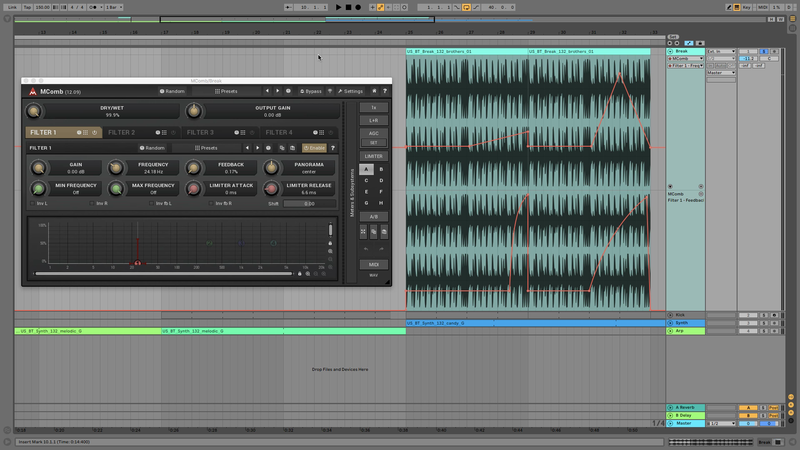
6. To get the most control over the effect in real time we suggest using MeldaProduction’s MComb from their free MFreeFX bundle. MComb is a comb filter, an effect that imparts a strong, tunable pitched characteristic on the audio that’s run through it. You can tune the filter with the Frequency knob, and the first few octaves from 20Hz up give us that sound that’s similar to the Akai sampler pitchshifting effects prevalent in early 90s hardcore. You can make the effect more intense by turning up the Feedback knob, and automating can give you some interesting dynamic effects.
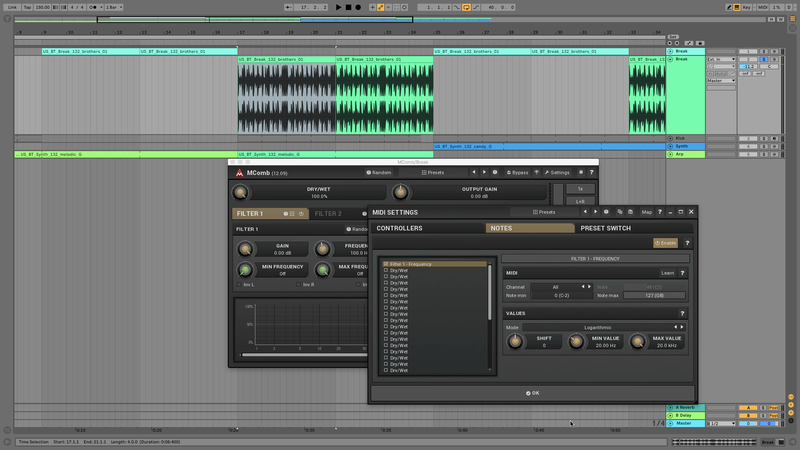
7. For a more involved effect, you can ‘play’ the effect like an instrument. To do this create a copy of the breakbeat track and delete the parameter automation, then on the new track bring up the effect’s MIDI window, select the Notes tab, Enable it, and change the affected parameter from Dry / Wet To Filter 1 > Frequency. Set the Min value to 20Hz and the max value to 20kHz and the frequency range across the keyboard will fit with standard tuning.
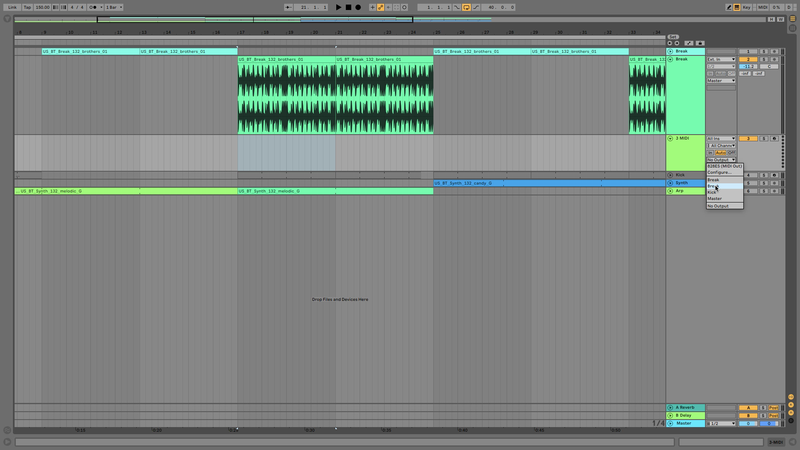
8. To ‘play’ the break create a new MIDI track and route it to the effect’s MIDI input.
9. Program in a MIDI pattern that complements the musical elements in the track, or you could just copy what we’ve used here.
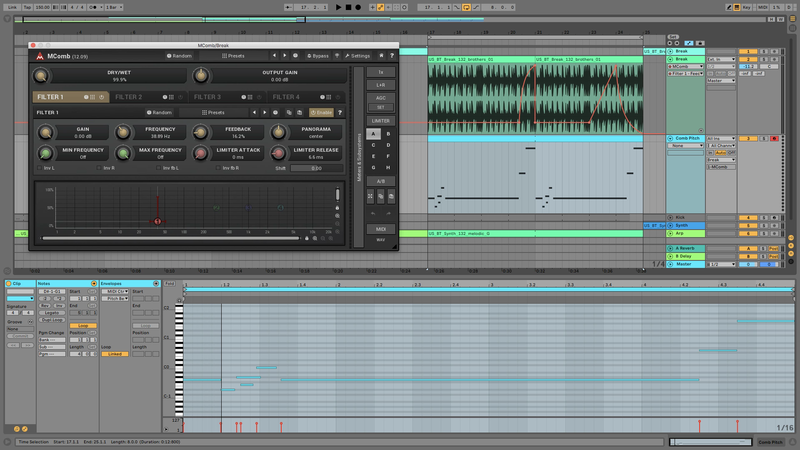
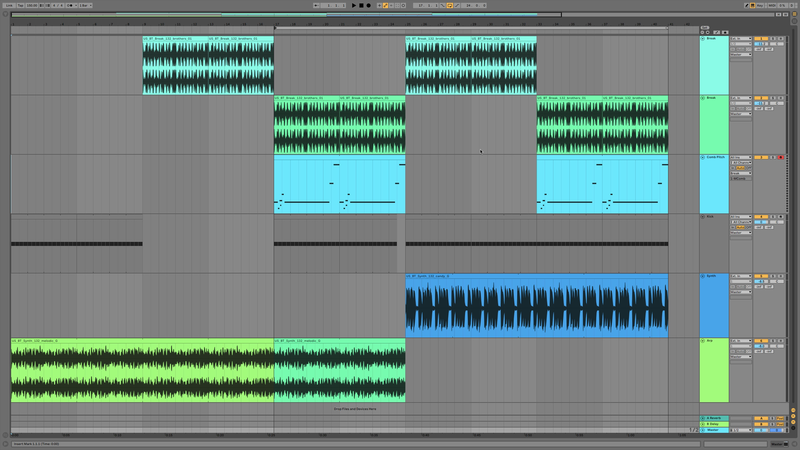
10. You can create a straightforward arrangement by cycling through the two breakbeat versions, first with US_BT_Synth_132_melodic_G and then with US_BT_Synth_132_candy_G.
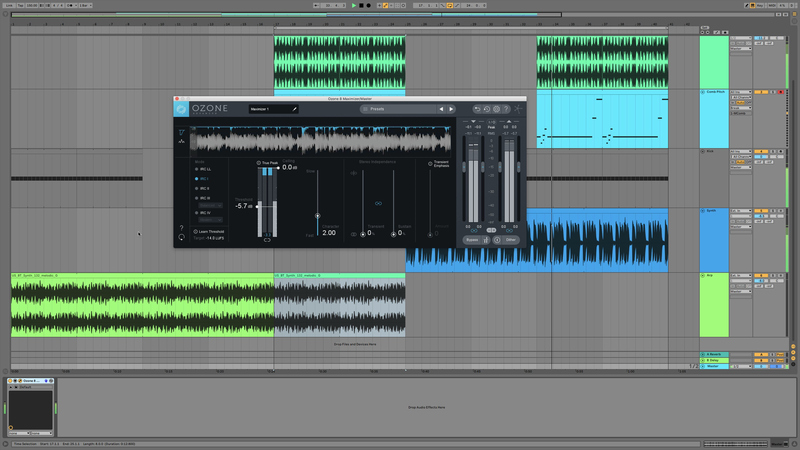
11. For the final touch use a mastering plugin like iZotope Ozone Maximizer on the master track to make everything loud AF.