Home Recording Essentials: Tips for Beginners
Recording is both an art and a science – it’s something that audio engineers are trained for, but something they don’t truly master without a variety of experience.
Whether you’re setting up to record vocals, an instrument, or incidental recordings for a sound pack, you might feel it’s hard to know where to start, but once you have a basic knowledge of the tools you need – and why you need them – things become clearer. In this guide, we’ll take you through the basic equipment you need to record at home, and how to use it to get good results.

We’ll be running down the best microphones for recording at home, how to use an audio interface for good recordings, and we’ll give you tips for adjusting settings for a great recording. But our most important tip-off makes even more difference to your end result: a great recording is all about the room you’re recording in.
Check out FREE and £1 / $1 packs to get you started
IN THIS GUIDE
– The Room Matters Most
– DIY Acoustic Treatment
– Choosing a Microphone
– Dynamic vs Condenser Microphones
– Polar Patterns in Microphone Response
– Your Audio Interface
– Levelling up for a Good Recording
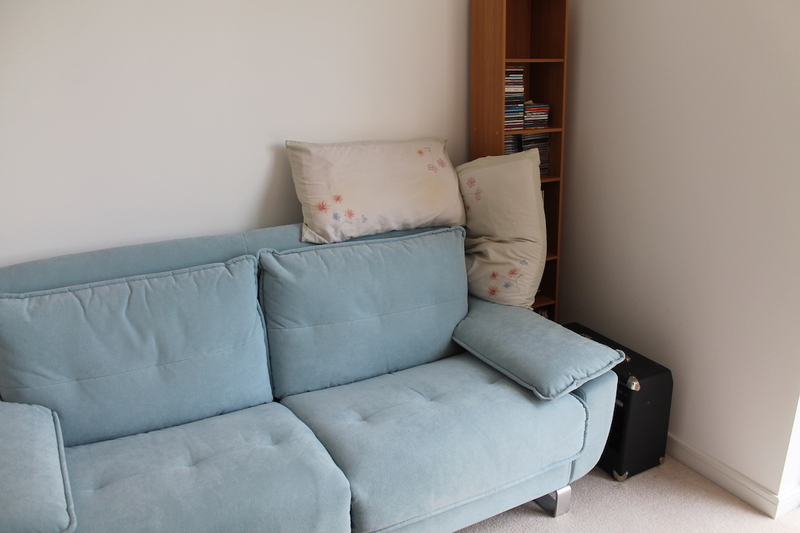
Microphone manufacturers won’t tell you this, but as long as the microphone you’ve got is semi-decent, and the signal path you’re using to record is fair (more about that later), the key to getting a good recording is the room that you or your subject is standing in when it happens. When sound moves, it bounces from wall to wall, and the mission with home recording is to reduce this as much as possible.
Real recording studios have fancy treated rooms for a reason: these are part and parcel of getting a get sound. Most often, the optimum recording environment is a space that won’t reverberate too harshly or for too long, although if you have a particularly interesting space to record in, such as a very large room or hall, it could be the secret weapon in making your recording the best it can be.
You might not be able to get quite as near to ideal in your own home, but there are things you can do to bedrooms, living rooms and spare rooms to make things much better.
The best-sounding rooms are often the smallest, although there is such a thing as too small a space. Go to each room you have available, and use the clap test: move around the room, clap, and listen to the clap ringing out around the room. The best environment is the one with the least ringing or ‘echoes’ from the clap.
To ease the situation still, you can drag in soft furnishings – sofas, cushions, rugs, curtains, a mattress – to further ‘dampen’ the sound of a room. Remember to test the sound of each room at different positions inside it. Moving your heavy items to different sides can make a bit difference.
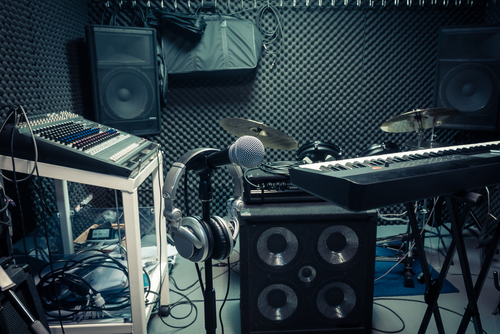
These days, there are a variety of microphones available, including small USB microphones built for podcasters and video creators with simple computer connectivity in mind. These microphones, however, are not ideal for recording singing, so we’d recommend something built for the stage or studio where possible.
Depending on your situation, you may not have the ability to choose a particular microphone. If you do have the opportunity to make a decision for yourself, the dark art of microphones won’t make it any easier.
Dynamic vs Condenser Microphones
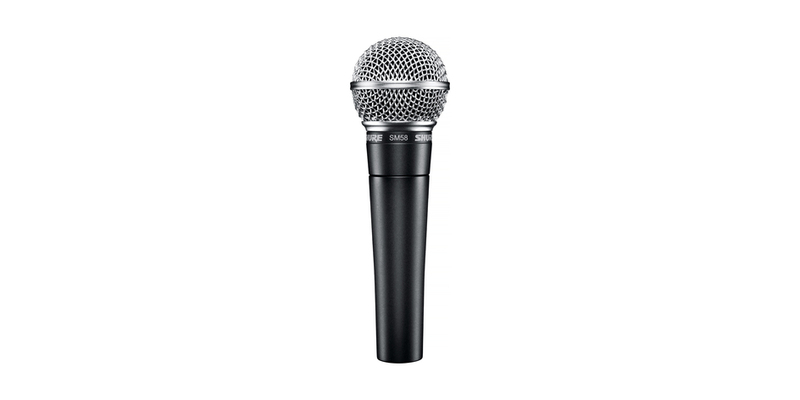
There are two broad types of microphone design: dynamic and condenser. A dynamic mic, such as the well-known Shure SM58, uses a small capsule to pick up the sound. Dynamic mics are hardy, able to withstand high volumes, and practically indestructible.
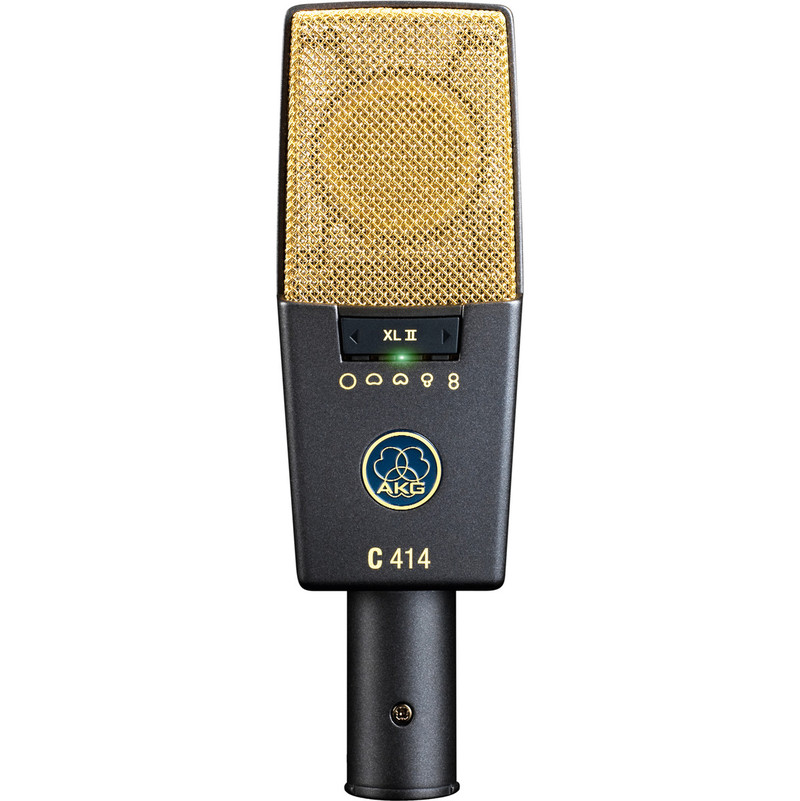
A condenser microphone, on the other hand, uses charged electric plates to pick up a signal. Condensers, such as the sought-after AKG C414 are good at picking up tiny details in the sound, which can be good for recording quality, but bad for the amount of background noise they hear. Condenser mics require a source of phantom power from an audio interface in order to work.
Recording engineers tend to agree that different microphones may or may not suit a particular voice. While this can be great for home recording – especially if a $100 microphone suits you better than a $3000 one – depending on your situation, you may want to opt for an all-rounder that you can use in different situations in the future.
Polar Patterns in Microphone Response
Microphones also have another property: their Polar Response. Put simply, an omnidirectional microphone will treat sounds from all directions equally, whereas a more ‘directional’ microphone response such as a Cardioid or Hyper-Cardioid will ‘hear’ the sounds from the front far more than the ones coming towards the back of the microphone.
The iconic stage microphones are Cardioid types – you don’t want the crowd sound leaking into a singer’s microphone on stage, where isolation of individual sounds is the most important part of the equation. ‘Shotgun’ microphones, as seen in film and TV recording, have this effect even more strongly, making it easier to record the subject it’s pointed at, and not on the ambient noises of the environment.
Simply rewiring your microphone’s output to your computer’s line-in port will not work. Unless you’re opting for a USB microphone, usually built for speaking only, you’ll need an XLR cable to connect it, and an audio interface to run that into.
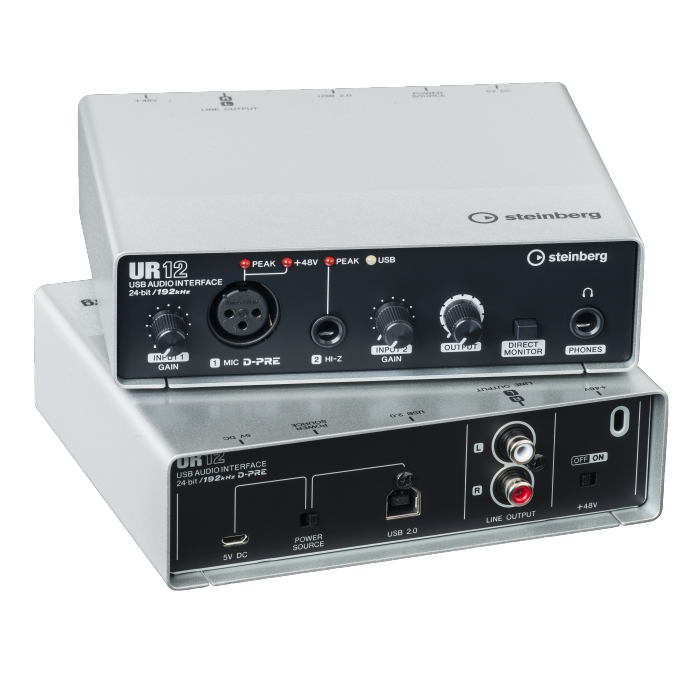
An audio interface handles your microphone signal correctly, and outputs that signal via USB to a computer. Audio interfaces also provide 48 Volts of phantom power to condenser microphones.
Levelling up for a Good Recording
Once you have your microphone of choice in your well-treated room, connected to your computer, it’s time to make a recording. Watch the level meters in your DAW and your audio interface to detect clipping. This is when the signal is so loud that the equipment is incapable of hearing it all, and some audio information will be lost.
To avoid clipping, make the loudest sound that will be made on the recording – maybe that’s a drum hit, a singer shouting, or a car passing, if you’re outside – and see if the level meters indicate a clip. This is usually shown by the level meters reaching the ‘unsafe’ red zone, rather than yellow or green, although there may be a single ‘Clip’ light on your interface to indicate clipping. If your loudest sounds are clipping, turn down the level on your audio interface, not within your DAW.
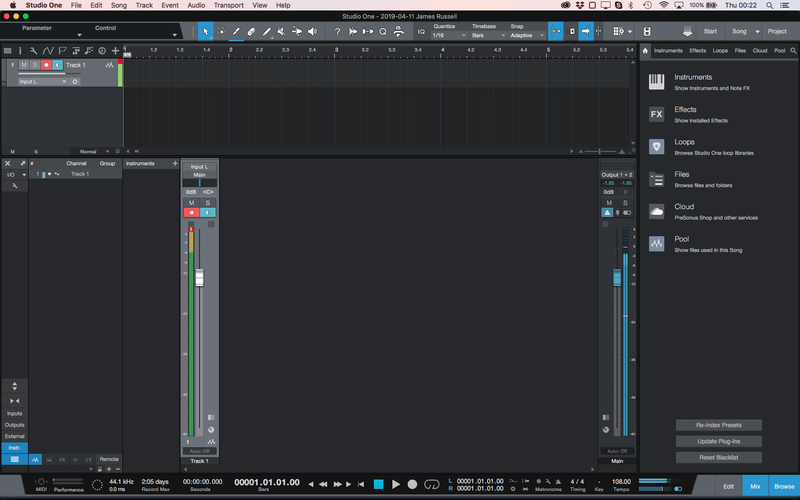
On the other hand, if your sounds are too quiet, they’ll benefit from your audio interface being turned up. The aim is to push the volume (aka Gain) as high as possible while still being safe from clipping.