
10 Tips for Recording Vocals at Home
Recording great vocals requires experience and expensive equipment. Studio engineers are trained in getting the perfect sound, and they often have the perfect tools at their disposal. So how can an amateur home recording ever stack up in terms of quality with one taken in a pro studio?
With these vocal recording tips, we’re going to illuminate common mistakes made in home recordings and shed some light on how you can approach studio-quality sound yourself. A lot of the expensive solutions in professional recording studios can be copied in some way in a home setup, and sometimes a little knowledge is all you need.
View all Vocal Products available at Loopmasters
IN THIS GUIDE
—What you Need Depends on what you’re Doing
—Your Room and Everything in it
—Gauging the Levels
—Getting a Better Home Vocal Booth
—Using a Pop Shield
—Headphone Spill
—Use Direct Monitoring for Low Latency
—Or Reduce your DAW’s Buffer Size
—Monitoring Through Effects
—Red Light Fever
—No Chocolate!
1. What you Need Depends on what you’re Doing
Recording a podcast or a voiceover for a video? Or are you recording a rock singer to belt out a few lines? If you’re just recording speech as opposed to singing, an out-of-the-box USB microphone may be a good option. These often come with a simple stand that means you can ‘broadcast’ from your desk, and get an instant signal via USB. This type of microphone is ‘tuned’ perfectly for recording speech, but you’ll want more firepower for recording louder sounds.
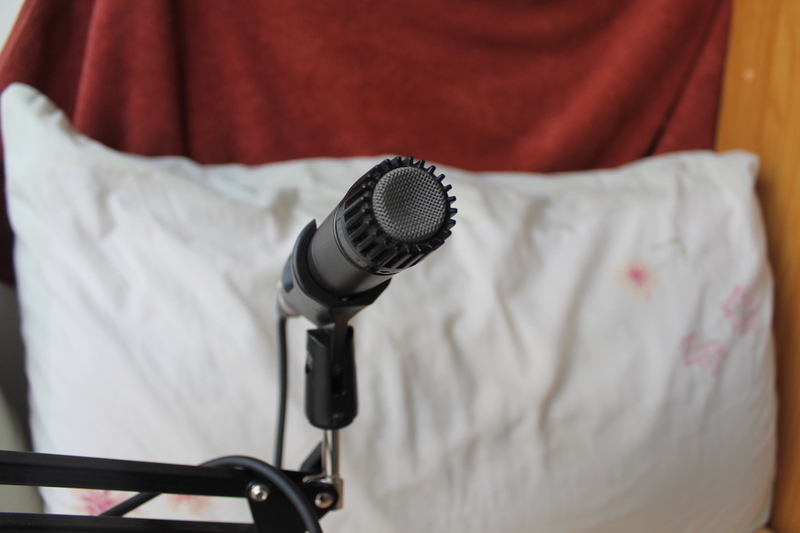
In the same way, a professional vocal microphone is built to record singing, and often to do so in loud environments like on-stage. A dynamic microphone such as the Shure SM58 can handle shouts, screams and more, while a condenser microphone such as the sE 2200 can do that and pick up intimate details.
For more on microphone selection, check out our Home Recording Essentials guide
2. Your Room and Everything in it
The room you’re recording in makes a huge difference on the sound quality you get. There’s a good reason that professional studios pay such attention to their environment.
The main intention of acoustic treatment is to reduce the reflections of sound from walls. While you might not hear an obvious ‘echo’ in your room, your microphone probably can. Perhaps you don’t realise it, but the difference in sound quality between amateur and professional recordings is often down to whether or not these reflections are reduced.
The more soft, sound-absorbing materials that are in the room, the better the recording will sound. Sofas, curtains and mattresses will help, but you can also bring objects like sofa cushions and pillows into the room and spread them around the stop the sound from bouncing around as much.
We also covered getting your room sorted for good recordings in our Recording Essentials guide, [link to above article again] where you can get deeper into the ideas behind gearing your room up to sound.
Be sure that you’re not clipping the input. This means that you’re overloading the capacity of your circuits with your microphone signal – it’s too loud and the audio information will be lost. Record the loudest sound you’re expecting to record, and make sure it doesn’t push your meters into the red – if it does, turn down the level on your audio interface or the mic itself.
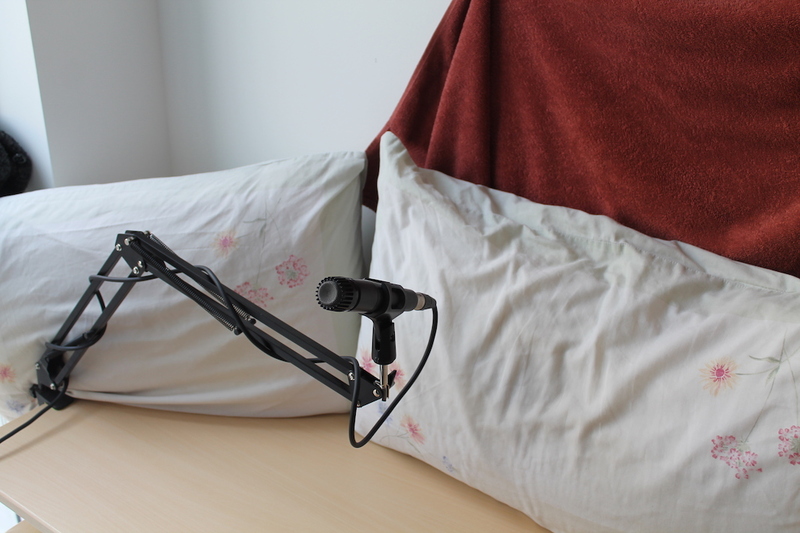
4. Getting a Better Home Vocal Booth
Once you’ve found a place within your chosen room that seems best to record from, you can make the situation even better at that point by propping up cushions, towels and other soft materials that will absorb the sound reflections immediately by the microphone.
The crucial place to absorb sound is directly behind the microphone – at the wall where the vocalist’s sound will bounce first. By reducing the strength of the sound at this point, you can cut down on subsequent reflections all around the room. As this position is also so close to the microphone, these reflections will also be ‘heard’ more easily.
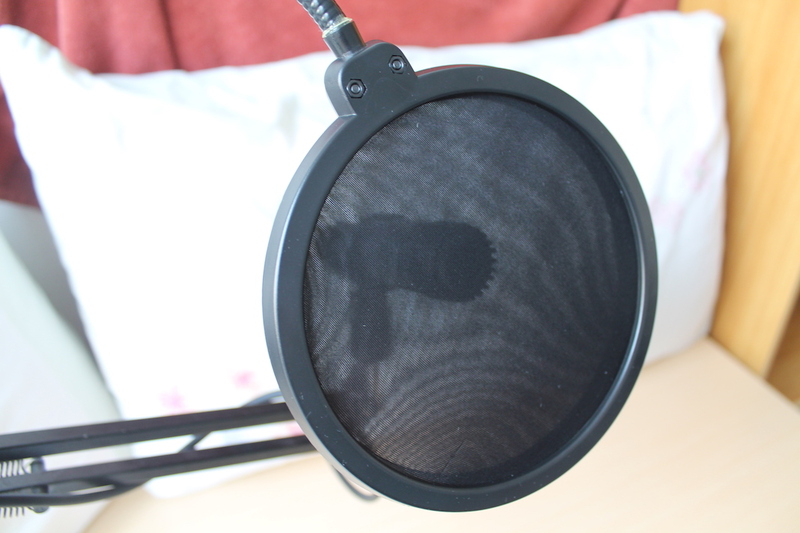
One of the most indispensable recording tools is a pop shield. This tightly-stretched fabric sits in front of the microphone and the singer, reducing the impact of plosive “P” sounds, which carry so much energy that they can rock the microphone and translate into deep, low rumbles.
While you can buy whole pop shields for quite cheap to fit to your microphone stand (as below), you can also fashion your own using a pair of tights and a coat hanger, or similar materials.
If a singer is recording while listening to a backing track, the track itself could be heard on the microphone feed. Other than using different, better-isolated headphones, or even opting to use small earbuds instead, the only solution here is to turn down the headphones’ level, or turn down the microphone’s signal. This will have knock-on effects, meaning your vocalist may have to be louder, or strain to hear the backing music. There’s no perfect solution here.
7. Use Direct Monitoring for Low Latency
If a singer is listening to their own voice coming through their headphones, it can be off-putting when trying to sing along. If your audio interface has a Direct Monitoring setting, this bypasses your computer and outputs the sound to the headphones before it even reaches the computer, meaning it takes less time and causes less lag.
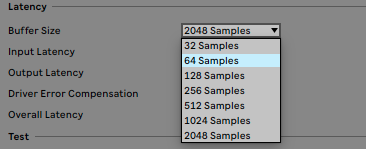
…or Reduce your DAW’s Buffer Size
Alternatively, by reducing the buffer size in your DAW’s settings, you also reduce the amount of lag between the singer singing and the microphone signal arriving back at your speakers. Don’t set the buffer size so low that you can hear audible clicking, though, as this means your DAW can’t deal fast enough with the recording. This is especially helpful if you’re monitoring through effects…
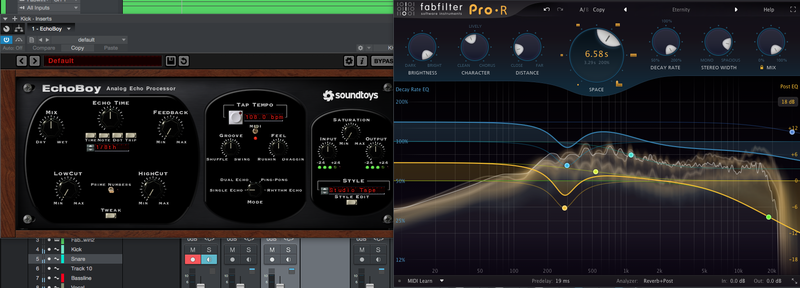
While recording, it can be useful for both you and your singer to hear what the finished product will sound like. By adding effects like reverb to the vocal channel in your DAW before recording, and sending the signal to the singer’s headphones, they can get a better idea of the context, and will be able to ‘perform into’ effects like delay and reverb.
Human psychology is weird. When practising a vocal performance, the result might be perfect, but as soon as you hit record, a singer or speaker can completely fall apart. Knowing that the recording is happening can put people off. While it’s hard to avoid this, one time-honoured trick is to pretend that you’re practising a recording, but actually hit record in secret. This could end up being the best take of them all.
Got a sweet tooth? Chocolate and other sticky, greasy food make it far, far harder to sing. In the home vocal booth, water is the best thing to have before a performance – save the sweet treats till later.