Here’s a FL Studio track reference tutorial that shows you how to get the best mix within your track by referencing it against another professionally recorded track.
A great way to improve your productions is by studying professionally mixed and mastered tracks. This can be done by loading a song similar to yours (i.e. a reference track) into your project and making comparisons between the two. This is especially helpful when mixing. One can learn about frequency distribution, panning and loudness. Additionally the reference track can help you with the arrangement and automation of your production. It is quick to set up, and a method the pros often make use of.a
Step 1: Choose a Reference Track
This should be fairly obvious. Choose a track similar to the one you want to create (or at least have some interesting aspect like a cool synth you want to recreate). Try to get the instrumental version if you are not interested in the vocals. Quality is king. Shoot for a 32-bit WAV or FLAC file. Otherwise get the highest quality MP3 file.
Step 2: Adjust the Tempo
Often the BPM (beats per minute) of the reference track will differ slightly to your track. To get the most out of the procedure (especially when you plan to check out the arrangement), you will need to adjust the tempo.
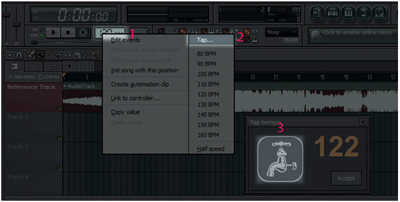
You can simply tap it out:
- Left-click on the Tempo button. (1)
- Click Tap. (2)
- Let the song play for a while (preferably until the drums kick in) and bounce your head to it. When youre in the beat click with the mouse on (3) in that tempo and you’re done.
Step 3: Set Up Plug-ins for Analyzing
Now we have a reference track with the tempo adjusted. We could just keep it that way if we wanted to use it to refer to the arrangement only. However most of the time you want to refer to the mix and take a look at the frequency distribution. That’s were we need plug-ins.
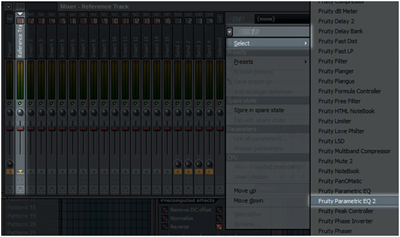
First, assign the reference track to its mixer channel (and name it accordingly).
Step 4: Choose the Plug-ins
Now you can choose which plug-ins to put on the mixer track. (Generally you should choose the plug-ins depending on what you want to analyze.)
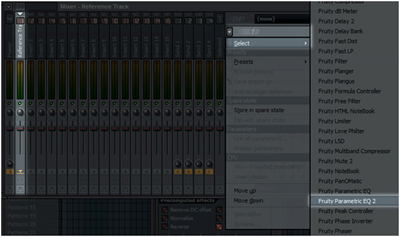
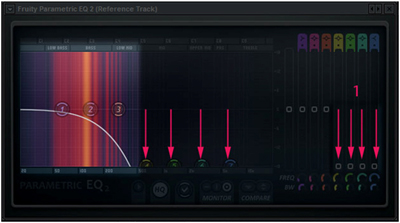
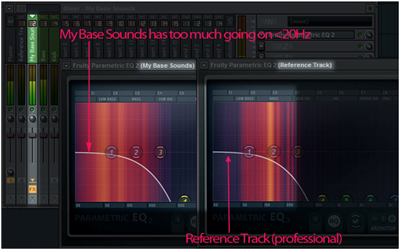
In this case I want to look at the lower frequency spectrum so I use the Parametric EQ 2 because it has the bonus of visualizing the frequency spectrum. Isolate the part that’s most interesting to you.
Step 5: Adjust the Plug-ins
As I said, the lower frequencies (the base) are interesting to me so I adjust the Parametric EQ. Just drag the higher frequencies (1) of the reference track down like this (similar to a Low Freqeuncy Pass).
By the way: With the tempo adjusted this is also a great way to design sounds (kicks, snares, etc).
Step 6: Repeat Step 5 for Relevant Instruments
Now you can do the same for your low-end sounds of your track (kick, bass), and maybe even group them together.
Step 7: Compare and Adjust
Compare the two graphs. More importantly, make adjustments.
Original source here.

